
In 2020 we couldn’t get any March Madness action, and we’re happy about having it back this year. If you know me, you might be surprised that I’m excited about this, but I enjoy the vibrant atmosphere around team sports, more than proper competition. Big games are a great opportunity to make some delicious homemade snacks. Don’t you agree?
We are thrilled at home when we can enjoy watching sports together, even with out little ones playing around! The best part of a big game are the snacks. Well, at least for me. That’s why I brought you some of my favorite, easy-to-make homemade snacks, so you can try more creative alternatives with a hearty touch.
Potato Chips: Pick your favorite flavor!
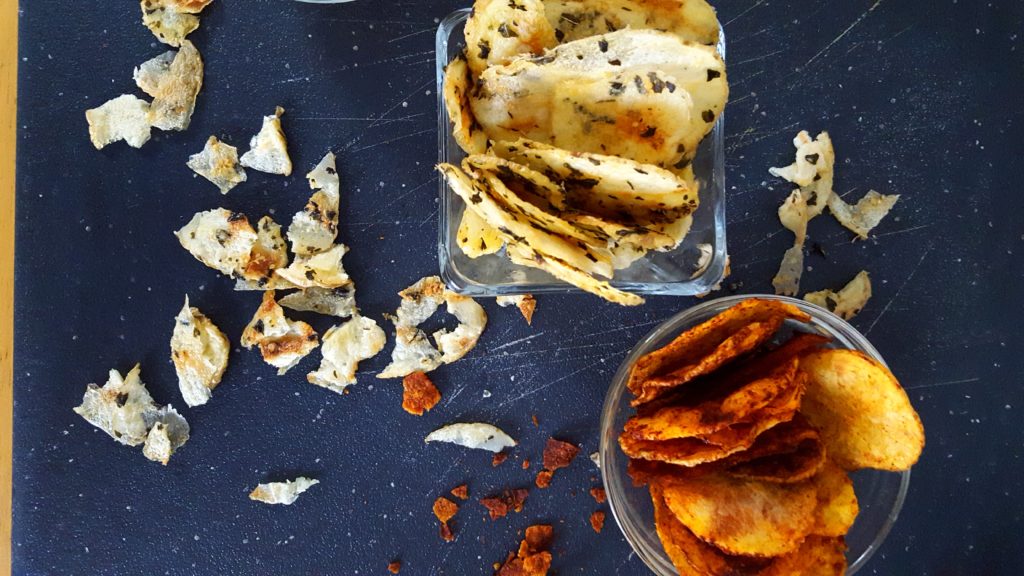
Homemade potato chips are the best because you can add them your favorite seasoning and they’re the freshest they can be.
The best about this potato chips recipe is that it’s extremely easy to make and take only a few minutes. You’ll need a sharp knife and a microwave oven, so it’s quite doable for everyone. If you want to slice your potatoes faster and obtain more consistent slices, you can use a mandoline. Still, I did pretty well with my good kitchen knife.
Microwave Potato Chips
Equipment
- Microwave
- Resealable bags (1 per flavor)
Ingredients
- 2 medium-sized potatoes
- 1 tsp olive oil (for each bag)
- ½ tbsp parmesan cheese and oregano
- ½ tbsp paprika and curry
- ½ tbsp salt and vinegar
Instructions
Preparation
- Slice the potatoes as thin as you can with a sharp knife
- Soak the potato slices in water for a minute. Then, dry well the potato slices with paper towels. This process takes away the starch from the potatoes and it will add some extra crispiness.
- Put a handful of slices in a resealable bag, along with your favorite seasoning (I recommend you to try all of the three in this recipe, they're delicious!)
- Shake the bags to season the chips. You can have some fun while doing it!
- Put the slices on parchment paper, on a plate. Avoid putting the potatoes too close. If they touch between them, they will stick.
Cooking
- Let the potatoes in the microwave for 5 to 7 minutes. You'll know your potatoes are ready when you see some brownish crispiness in them.
- Repeat the process with each batch, with a new piece of parchment paper.
Video
Notes
- Salt and vinegar
- Paprika and curry
- Parmesan and oregano
Cheesy, crispy, and delicious!
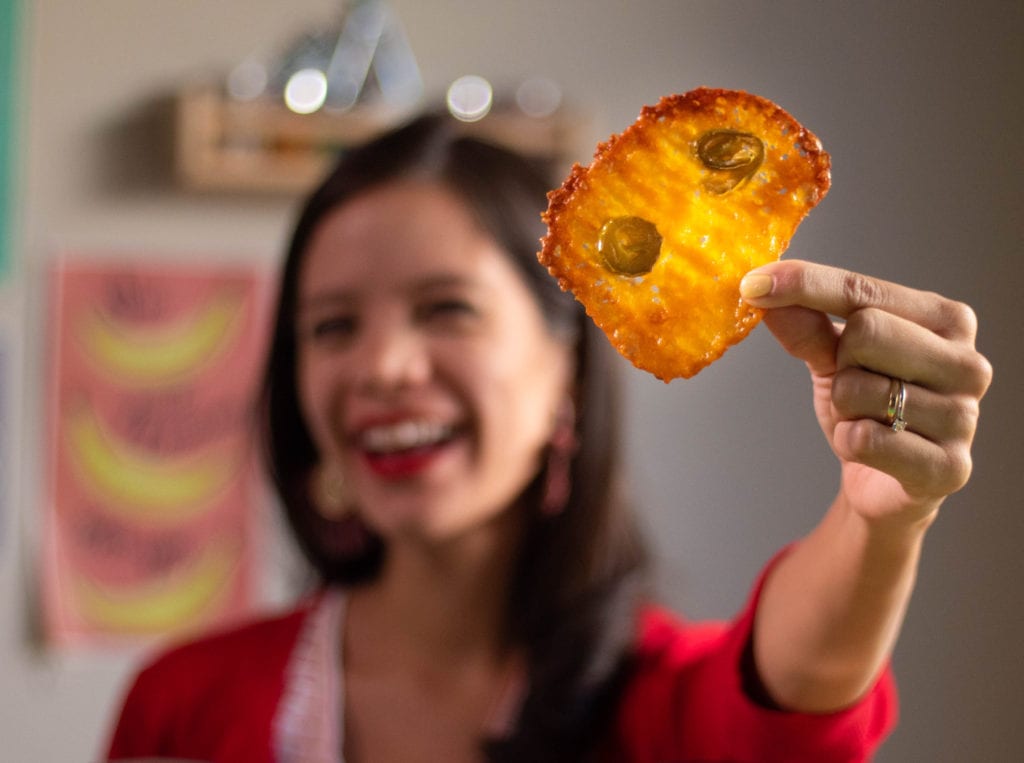
If you’re like me, you love cheesy, crispy, and savory snacks. The first time I tried this Keto Cheese Chips with jalapeños I loved them because they were so easy to make, and you can choose your favorite flavor profile mixing different types of cheese, or picking just your most loved one.
Personally, I chose a good sharp cheddar, but you can try mixing cheddar with a good monterey jack, or a creamy havarti. Just keep in mind they will get crispy at different times, depending on how creamy or hard they are. So, don’t forget to check them now and then while baking these cheese chips.
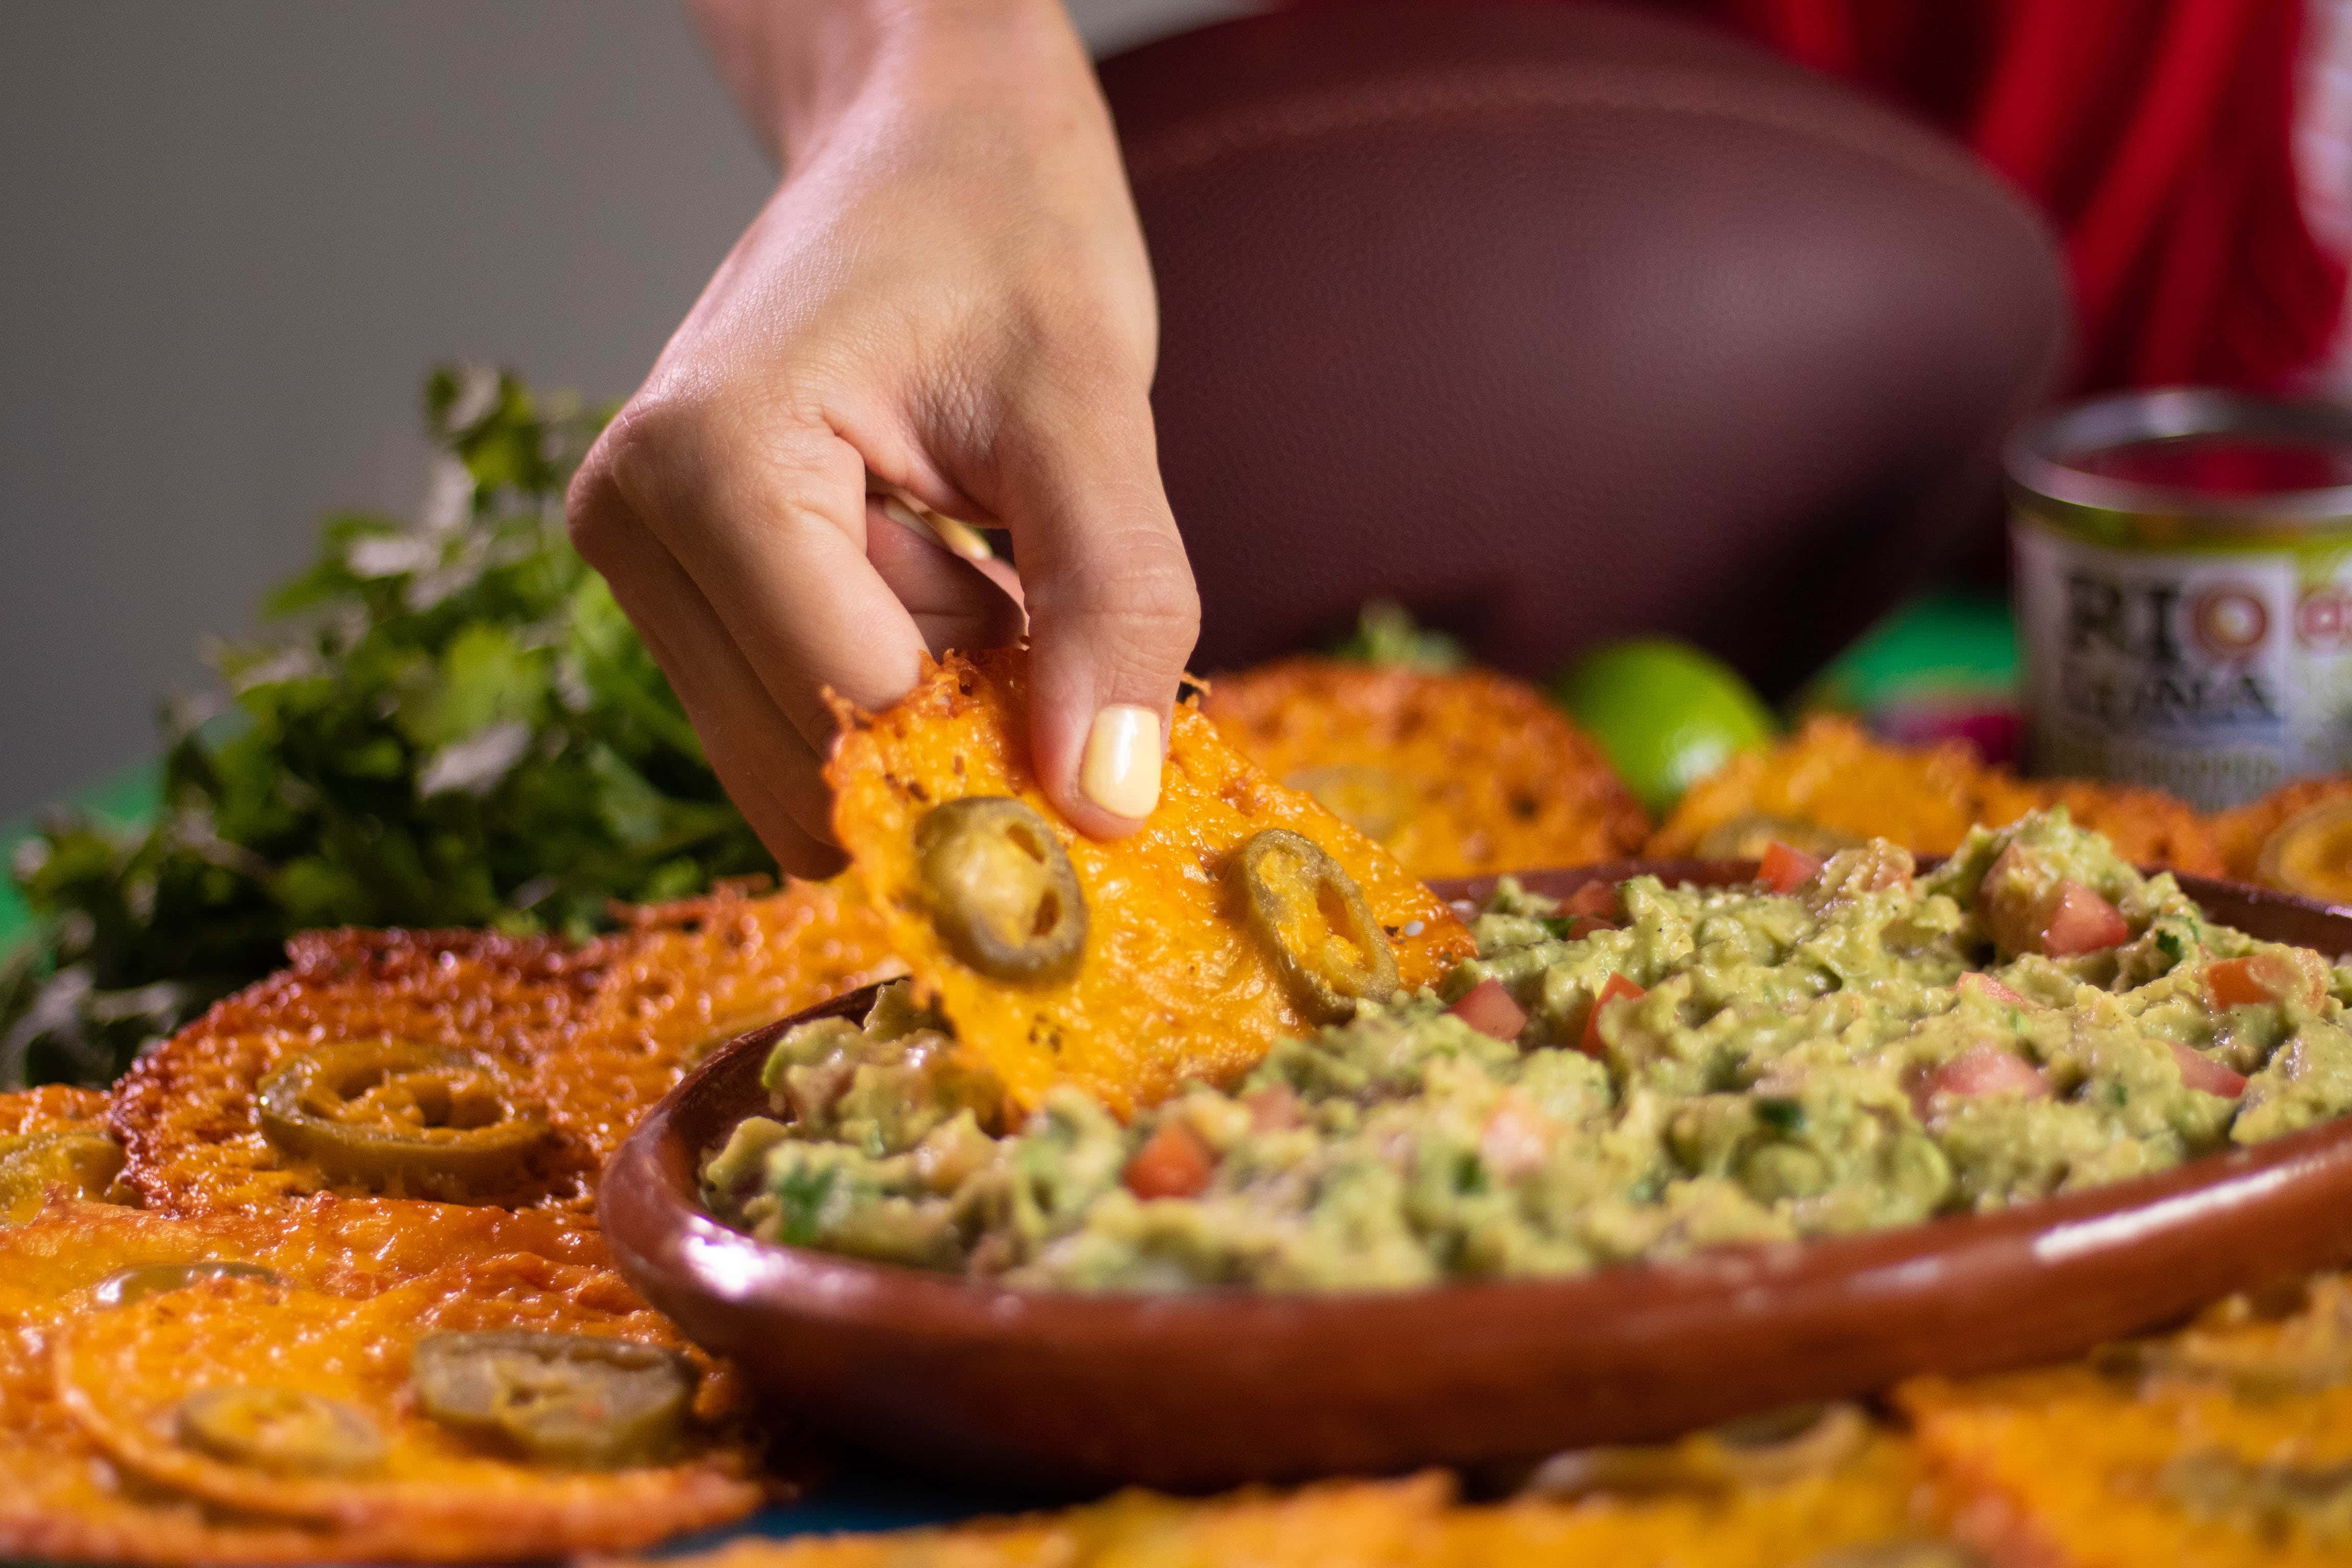

Keto Cheese Chips With Jalapeños
Equipment
- Line baking tray
- Parchment paper
Ingredients
- 1 oz sliced jalapeños (a store bought jar is perfect for this recipe)
- 16 oz cheddar cheese (preferably in a big piece, so you can grate it at your convenience)
Instructions
- Preheat oven to 375ºF and line baking tray with parchment paper.
- Grate cheddar to obtain medium-sized cheese strands. Add this in cookie-sized clumps to the baking tray. Keep in mind that as the cheese melts and flattens, it will spread out. For this reason, don’t put the cheese clumps too close to one another, so as to prevent them from fusing together and making giant cheese chips!
- Add a couple of sliced jalapeños on top of the cheese (pat them dry a bit before adding) and bake each tray for 10-12 minutes, or until the cheese chips golden.
- Allow the cheese chips to cool for at least 10 minutes.
- Serve along with your favorite salsa or guacamole!
Notes
- When baking keep an eye on the chips. Be careful not to underbake (or else our cheese won’t acquire a crispy consistency). Likewise, don’t overbake to the point where all the cheese’s moisture is lost and you burn the crisps! Just keep an eye on the process!
- Letting the chips rest after getting them out of the oven will solidify the crisps for good and give them that sturdy, crunchy texture we’re going for. You may or may not pat some extra oil on top if you’d like.
Break the mold with these sweet and salty cookies!
I found these cookies years ago, looking for challenging, odd flavors. Emmy Made In Japan hit the spot with this recipe and inspired me to try it. So, if you feel your snacks table is too salty, these cookies will bring a smooth sweetness to it.
I love their consistency, and their flavor is quite surprising. I could even try them with coffee, because they have a smooth sweetness and a rich texture.

Cheetos Cookies
Ingredients
- 1 cup + 6 tbsp flour
- 1 tsp baking powder
- ¼ tsp salt
- ½ cup unsalted butter, at room temperature 115 grams
- ¾ cup sugar
- 1 egg
- 1 tsp cheese powder (from Mac & Cheese boxes or cheddar cheese powder)
- 3/4 cup crushed Cheetos
- ½ cup crushed Cheetos Puffs
- ½ cup crushed Flaming Hot Cheetos
Instructions
To make the cookie dough
- Crush cheetos with a food processor. If you don't have one, use their own bag. They'll look like coarse sand
- Put butter at room temperature with sugar in a bowl and beat them together until they have a smooth consistency. Then add an egg and beat well.
- Sift the flour, baking powder, and a little bit of mac & cheese powder (or cheddar cheese powder) powder. Sprinkle this on top of your batter and beat well again.
- Add Cheetos powder and incorporate everything with a spat.
To bake the cookies
- Make little balls of dough a bit larger than a ping pong ball
- To add an extra-punch of flavor, put each ball in a bowl full of Cheetos powder, so they get covered with a thin layer around them
- Place the dough balls on a baking sheet with parchment paper. Make sure the balls are a little bit separated
- Put the them in a preheated oven at 356 °F (180 Celsius) for 12 to 14 minutes. Keep an eye on them around minute 10
- After 10 minutes take out the tray and flatten each cookie a little bit with a spatula or wooden spoon
- Put them back in the oven for a couple more minutes
- Take the cookies out of the oven and let them cool on a rack at least 20 minutes. That will add a little crunch
Notes
Well, I am sure that with all these homemade snacks recipes you have more than enough to choose and treat yourself during this amazing season. Don’t forget you can check more recipes here. You can check my YouTube Channel as well, I upload a video every week!
Have you tried any of these recipes? Leave your comment below and tell me what you think about them.

Leave a Reply