This post is also available in: English (Inglés)
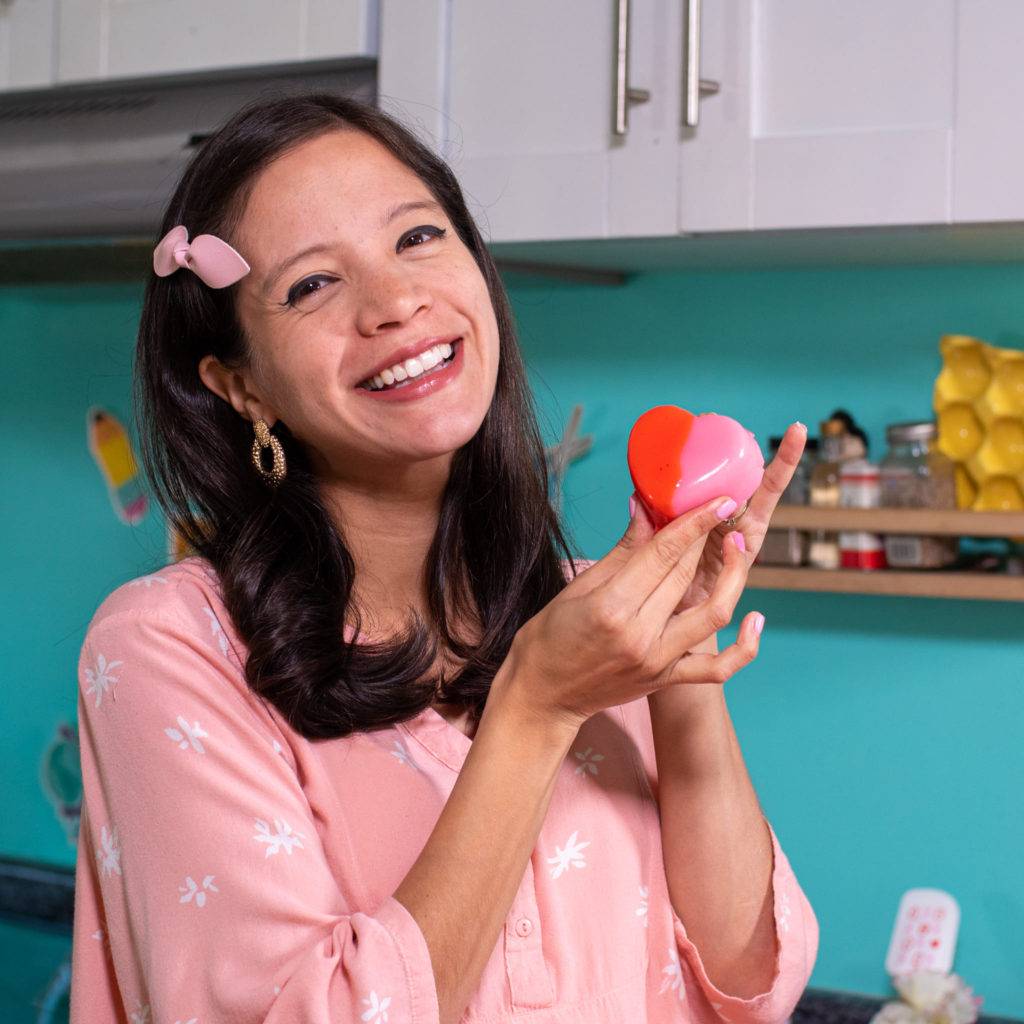
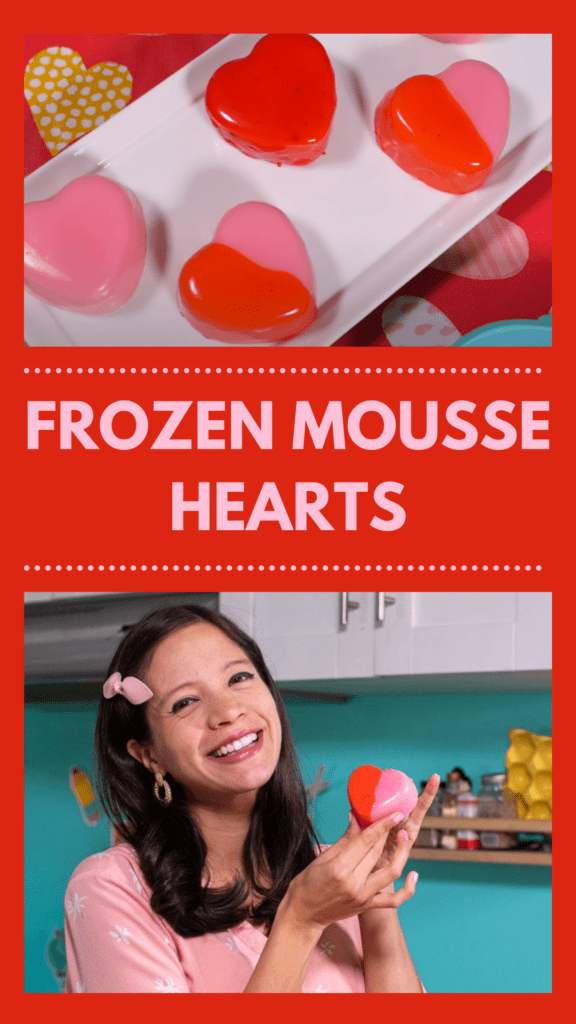
Los corazones de mousse helados con glaseado de espejo son una delicia deliciosa, perfecta para compartir y regalar en San Valentín o cualquier otro día en el que quieras alegrar el día a alguien.
La elaboración de este postre es bastante sencilla y no requiere horneado ni procedimientos de cocción complejos. Al contrario, es perfecto para hacer con niños. Además, puedes hacerlos con la forma que quieras si no encuentras un molde de corazón.
Como estaba preparando cosas para San Valentín, elegí una forma de corazón para la mousse helada. Los corazones adquieren un aspecto sofisticado y coqueto gracias al esmalte de espejo.
Lo que necesitas para hacer corazones de mousse helados con glaseado espejo

Un esmalte espejo emula el poder reflectante de un espejo a través de varias características. Te contaré algunas cosas sobre ellos para ayudarte a mejorar la técnica y evitar errores comunes al hacer el glaseado.
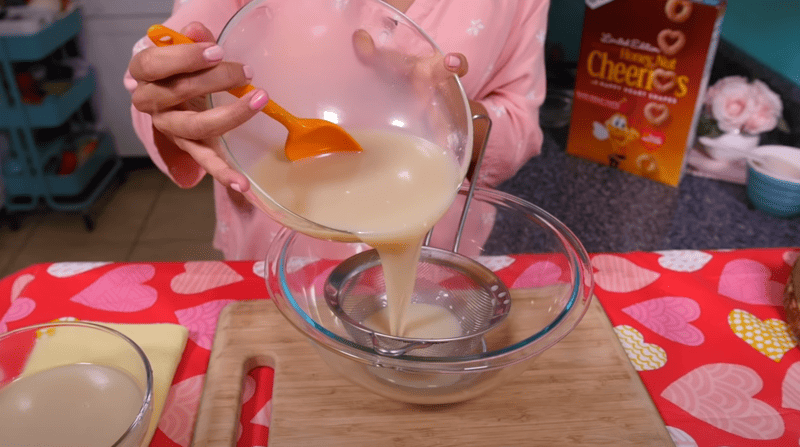
Superficie lisa: las burbujas de aire en la mezcla son los peores enemigos de la textura superficial deseada. Al hacer la mezcla para el glaseado es crucial cuidar la uniformidad.
Grosor del glaseado: la viscosidad es esencial para la consistencia. Verter con cuidado el glaseado espejo sobre la mousse también desempeña un papel muy importante.
Ingredientes brillantes: elegir los ingredientes adecuados para el esmalte de espejo es crucial. Te tengo cubierto porque esta receta proporciona componentes perfectamente medidos para obtener un hermoso glaseado de espejo.
Cómo hacer un glaseado espejo perfecto
El glaseado espejo tiene una larga historia en la pastelería francesa, y es esencial para un buen número de recetas delicadas. Recientemente se ha hecho más visible en las redes sociales y, gracias a numerosos vídeos virales, el glaseado espejo se ha abierto paso entre miles de nuevas recetas.
Tiempo necesario: 15 minutos
Aunque hay diferentes maneras de hacer un glaseado espejo, mis pasos son muy sencillos:
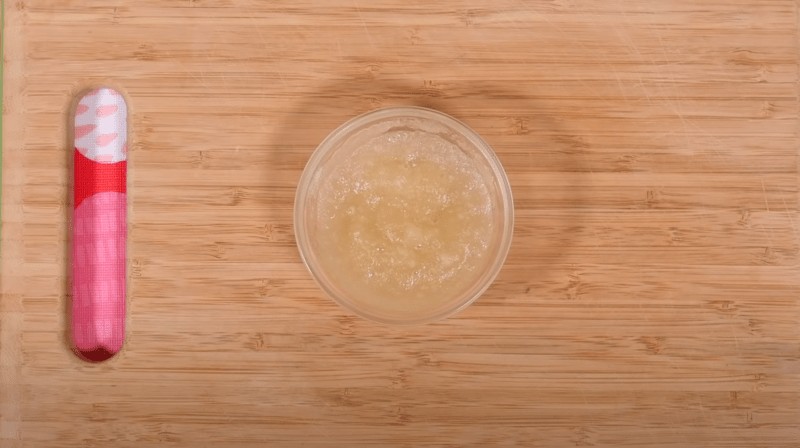
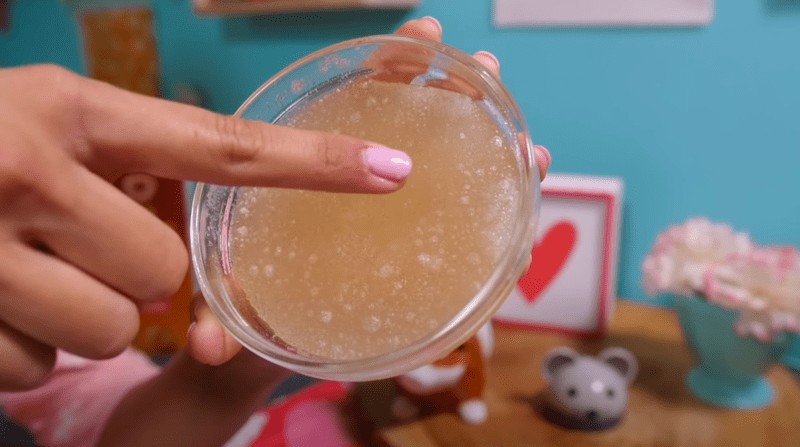
- Hidratar la gelatina
- Hidratar dos cucharadas de gelatina sin sabor en media taza de agua fría.
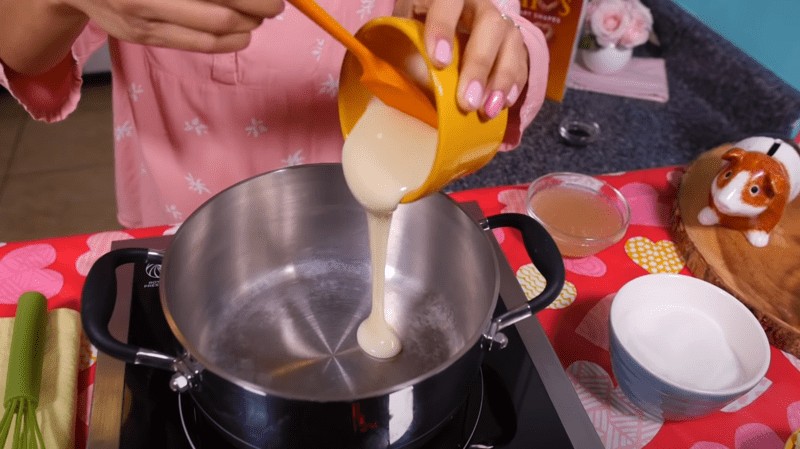
- Mezclar los ingredientes de base
- Mezclar la leche condensada, el azúcar, la vainilla y el agua en una olla mediana a fuego medio.
- Mezclar la gelatina y la base
- Cuando la gelatina esté hidratada, añádela al líquido y mezcla hasta que esté completamente disuelta. A continuación, retirar la mezcla del fuego.
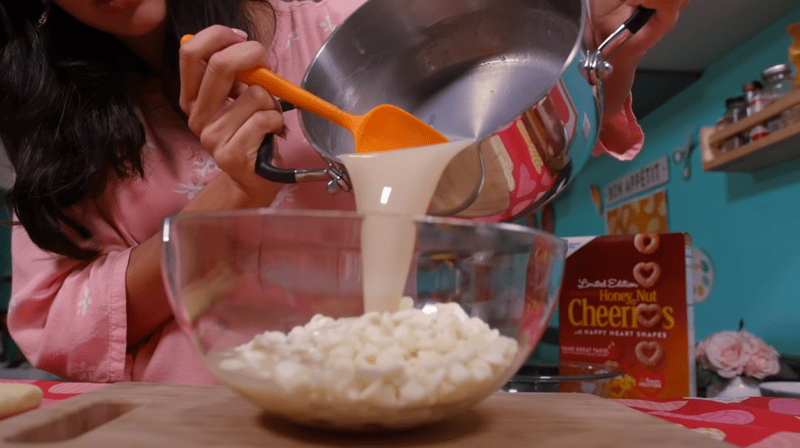
- Añadir el chocolate blanco y fundirlo
- Añadir el chocolate blanco y utilizar la mezcla caliente para fundirlo. A continuación, mezcle lenta y suavemente con una espátula la. AquíEvite mezclar demasiado o utilizar un tenedor o un batidor para evitar que entre aire.
- Separar la mezcla
- Separa la mezcla en distintos recipientes si los quieres de distintos colores.
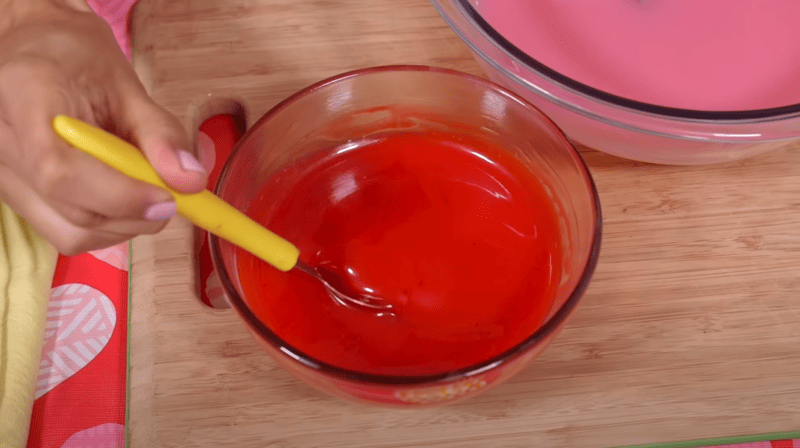
- Colorear el esmalte espejo
- Utilice colorante alimentario en gel para mantener la textura intacta. A continuación, deje que el glaseado se enfríe un poco porque necesita estar a temperatura ambiente (entre 93 y 99 grados Fahrenheit) para que funcione mejor.
Encuentra a continuación todos los ingredientes para hacer esta receta de corazones de mousse helados con glaseado espejo. Son perfectas para San Valentín y para cualquier momento en el que quieras demostrar tu amor.
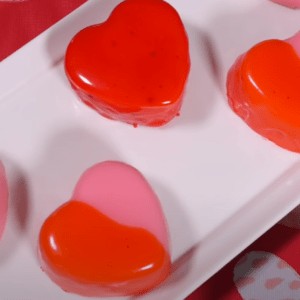
Frozen Mousse Hearts with Mirror Glaze
Ingredientes
- 3 tbsps of cold water
- 7 grams of unflavored gelatin
- 3½ cups of strawberries or raspberries
- ½ cup sugar
- 1 cup whipping cream
- ¼ cup Nutella
Mirror glaze
- 2 tbsp of unflavored gelatin, hydrated in ½ cup of cold water
- ½ cup condensed milk
- 1 cup sugar
- ¾ cup water
- 1 tsp clear vanilla extract
- 12 oz of white chocolate chips
- Gel food colorings
Elaboración paso a paso
Frozen mousse
- Cut the strawberries and hydrate the gelatin in cold water.
- Put the strawberries in a pot with sugar and let them boil little by little until it becomes semi-jelly. Now, strain to keep the liquid and add the hydrated gelatin. Then, cool down this liquid for a while.
- When the jam mix is at room temperature, take a pre-chilled bowl and whip cold heavy cream at the highest speed.
- After the cream rises, stop whipping and add the jam slowly. Mix with a spat in folding movements until the jelly and the cream integrate.
- Put the mix in a mold. Fill the mold halfway and pat it against a surface, so that it releases trapped air.
- Add a tablespoon of Nutella in the center and finish the mousse with more mix. Finish by smoothing the surface out.
- Put the mousse hearts in the freezer for at least 4 hours or overnight.
Mirror glaze
- About half an hour before mousses are ready, start making the famous mirror glaze.
- Hydrate gelatin again, just like before. While it's hydrating, prepare the rest of the glaze.
- Add condensed milk, sugar, vanilla, and water in a medium-sized pot on medium heat. Then mix, and when the gelatin is firmer, add it to the liquid and mix until it's completely dissolved. Now, remove the mix from the heat.
- Add white chocolate and melt it with the mix slowly and gently. Here avoid mixing it too much to prevent letting in the air.
- Separate the mixture into two containers to make two colors of glaze.
- You can use your favorite colors. For instance, I picked red and pink. Here use gel coloring so that the texture doesn't change. Now, let the glaze cool for a bit because they need to be at room temperature. Between 93 and 99 degrees Fahrenheit, so it works better.
- After a while, check them. If the temperature is correct, take the mold out of the freezer and remove each mousse carefully.
- Put the mousses in a rack that has waxed paper below. Then, glaze the mousse. Now, wait a bit before pouring a second layer. You can make a different design in this step.
- Stick the mousse hearts in the fridge before serving for at least 15 minutes. You can also cool them at room temperature for 30 minutes if you have spare time.
- Then, you'll only want to gift these beautiful mousse hearts to your loved ones! -or indulge yourself 😉
Video
Si te ha gustado esta receta de corazones de mousse helados con glaseado espejo, puede que también te gusten otras de mis recetas también.
Y recuerda, si pruebas esta receta y quieres compartir tus fotos, etiquétame @lacooquette en Instagram. Me encantaría compartir tus fotos en mis historias de IG.

Deja una respuesta