This post is also available in: English (Inglés)
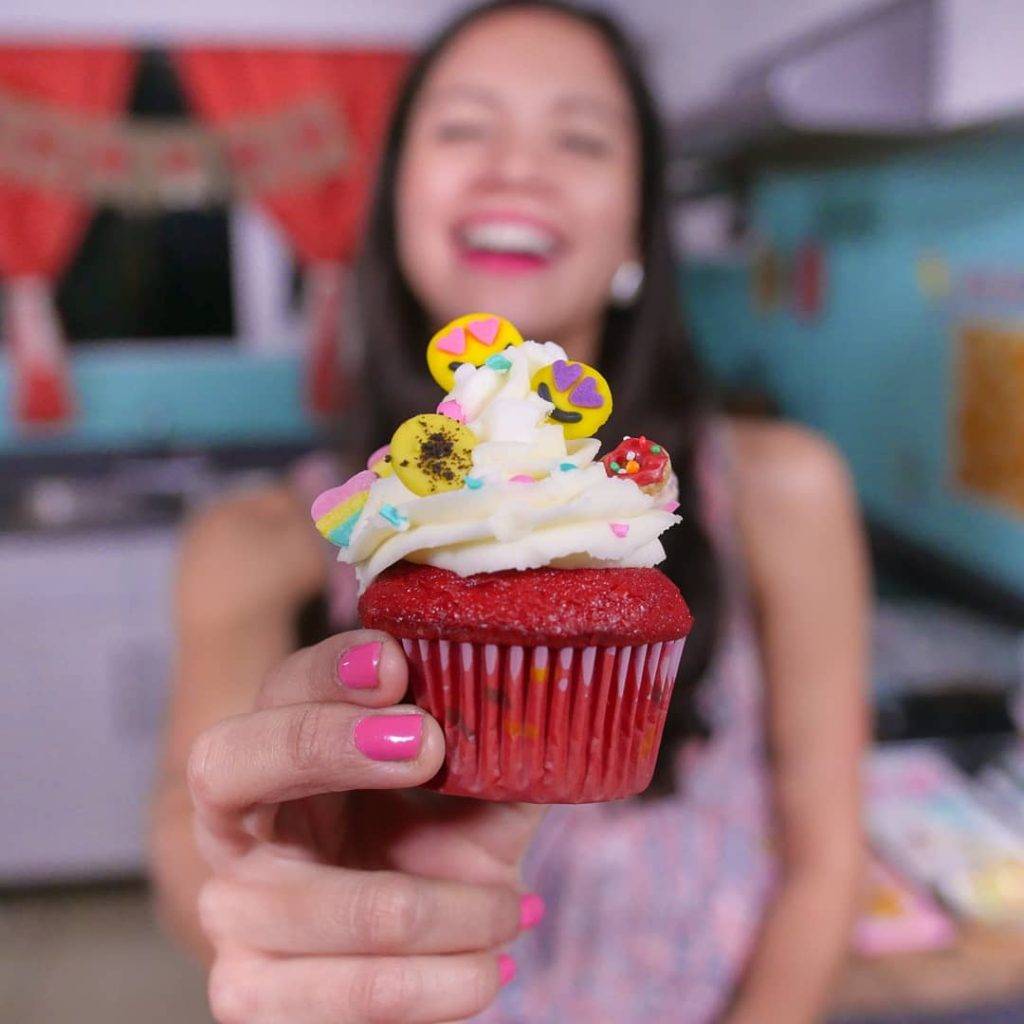
¡Las virutas caseras son lo más!
Si has consultado algunas de mis recetas, ya sabes cuánto me gusta preparar las cosas desde cero. Ahora bien, en lo que respecta a las virutas, puede que digas que me estoy pasando un poco. ¡Pero no lo creo!
Puedes utilizar grajeas como cobertura para…
- Magdalenas
- Cookies
- Tartas
- Helados
- Frappucinos y batidos
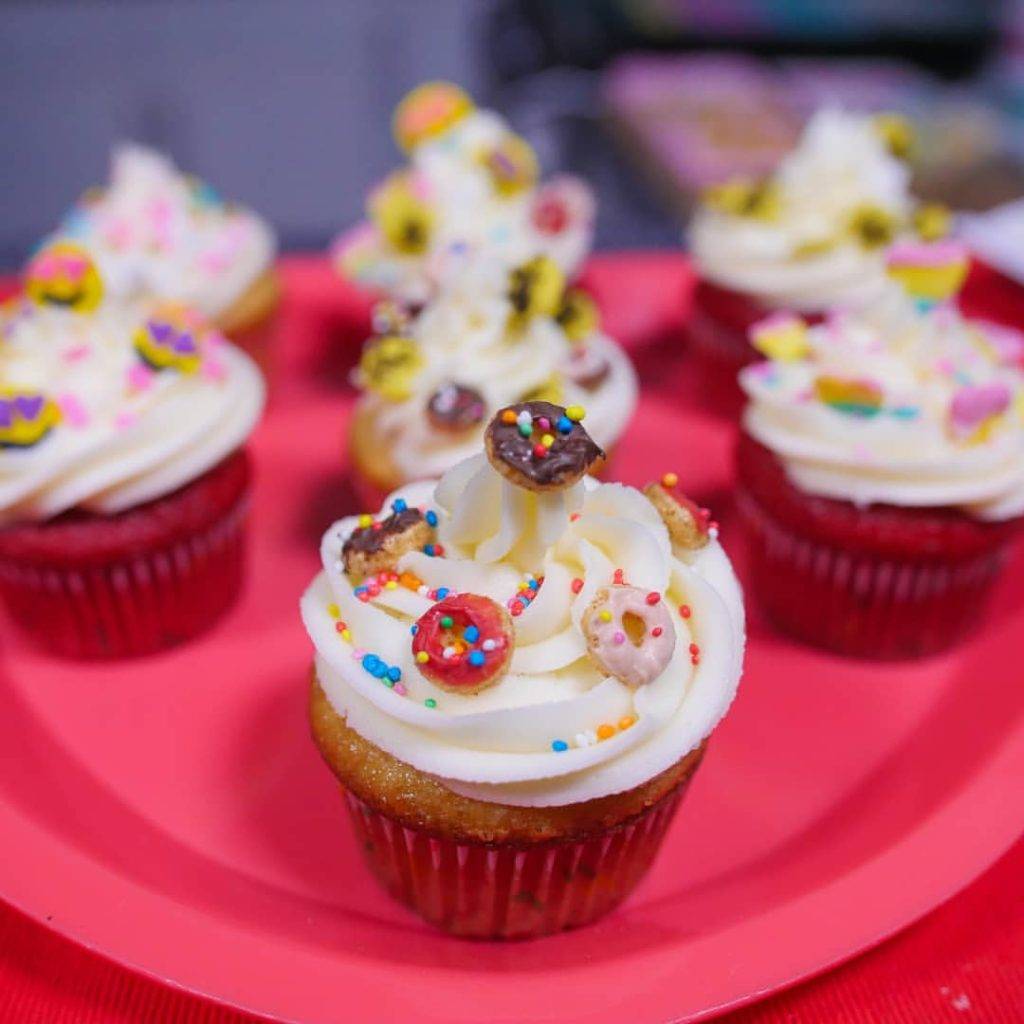
Y muchas cosas más.
Hice esta receta originalmente para el día de San Valentín, que celebro con la familia, los amigos y mi marido. Además, son perfectas para demostrar tu amor. Debemos celebrar el amor -en todas sus formas- todos los días. ¿No estás de acuerdo?
Y, si lo prefiere, puede añadir estos sprinkles personalizados a postres para ocasiones especiales y como parte de un regalo comestible. En cualquier caso, ¡estos sprinkles personalizados son tan bonitos!
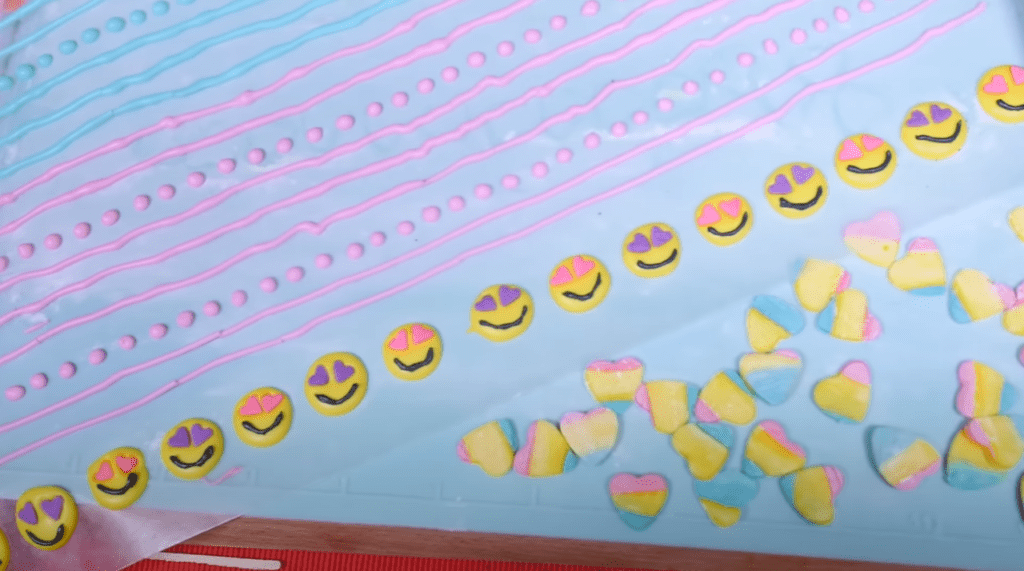
Lo que necesitas para hacer sprinkles personalizados en casa
3 Razones para hacer sprinkles en casa
- Crea sprinkles de tus colores favoritos
- Realice formas y diseños únicos imposibles de encontrar en otro lugar
- Demuestra tu amor dedicando tiempo y esfuerzo a crear algo bonito para tus seres queridos.
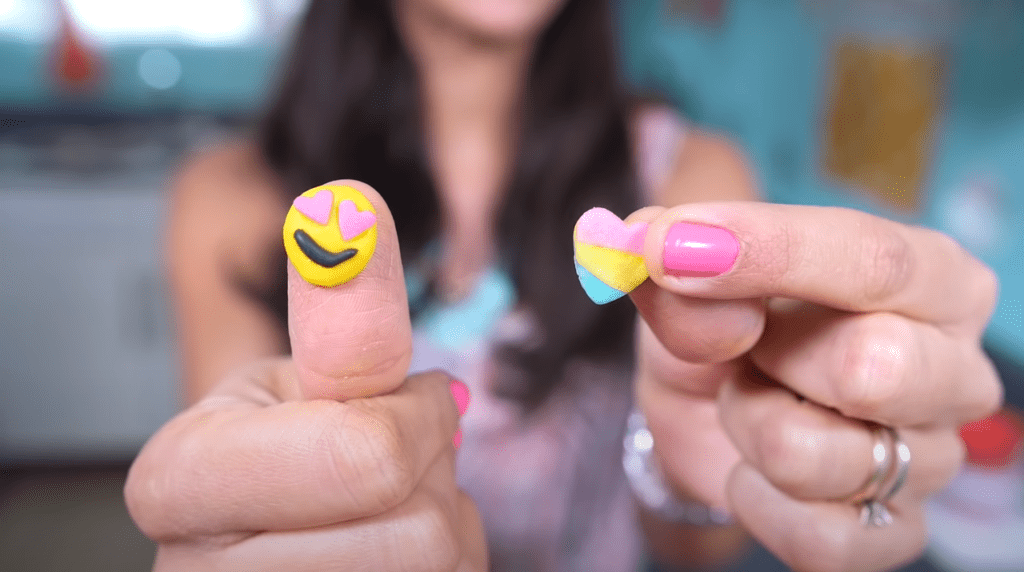
A continuación encontrarás la receta completa con todos los ingredientes y una guía paso a paso para hacer estos sprinkles DIY.

Homemade Sprinkles
Ingredientes
Royal icing base for emojis and cookies
- 4 cups powdered sugar
- 2 tbsp meringue powder
- ¼ cup water
- Gel food coloring
Emojis sprinkles
- Royal icing
- Tiny hearts sprinkles
Cookies' sprinkles
- Royal icing
- 3 crushed Oreos
Donuts sprinkles
- Cheerios or round-shaped cereal (chocolate and vanilla)
- 4 tbsp chocolate chips
Fondant sprinkles
- 75 g fondant in your favorite colors
- Gel food coloring
- Water
Elaboración paso a paso
Donuts
- For donut sprinkles, melt chocolate in the microwave. Remember to use short intervals of 20 seconds approximately and stir the chocolate in between.Take a piece of Cheerios and dip it into the chocolate to cover only half of it with chocolate. Then, remove the excess using a toothpick. Put the coated Cheerios on waxed paper and top with rainbow sprinkles. Now, let them cool down.
Emojis and Traditional Sprinkles
- For the emoji and traditional sprinkles, you'll use royal icing for the base.
- Start mixing meringue powder with powdered sugar in a bowl.
- Slowly pour water over the ingredients and mix at medium speed. Keep mixing until you get a sticky consistency, like liquid white glue.
- Separate the icing into small bowls to add the gel coloring.
- I used four different colors, so I had four separate small bowls. Distribute your royal icing accordingly.
- Add a few drops of gel food coloring and mix each portion using a clean spoon. Cover the colors you won't use immediately with plastic wrap to protect them.
- Pour tiny yellow circles on a baking tray lined with parchment paper for the emoji sprinkles. Fix the shapes using a toothpick and top with two heart-shaped sprinkles for the eyes.
- Meanwhile, to make conventional sprinkles pour straight lines and dots on another baking tray lined with parchment paper.
- When the emojis are more solid, draw a smile with black icing.
Cookies
- To create cookie sprinkles, draw circles with beige royal icing. Use a toothpick to fix the details and top with crushed Oreos.
- You can draw a white rectangle for the glass of milk or get tiny marshmallows.
Rainbow hearts
- For the hearts, choose fondant in different colors. Grab each piece and roll them to obtain thin strips. Flatten the fondant using a rolling pin and then wet the borders with water using a brush.
- Stick the fondant strips together and stretch with a fondant rolling pin.
- Now, use a tiny cookie-cutter to cut the fondant hearts. Aim for all the colors in each cut.
- To finish, let the sprinkles dry for 10 to 12 hours.
- Separate the sprinkles from the parchment paper carefully. Then, use your sprinkles as you like!
Video
Si te ha gustado esta receta de sprinkles caseros, puede que te gusten algunas de mis otras recetas también.
Y recuerda, si pruebas esta receta y quieres compartir tus fotos, etiquétame @lacooquette en Instagram. Me encantaría compartir tus fotos en mis historias de IG.

Deja una respuesta