This post has been sponsored by Kroger, however all opinions listed here are my own.
Every year comes the same guilt trip question: should I or should I not eat my kids’ Halloween candy? Come on, admit it: you either hide a stash of candy you buy for Halloween night or grab a few from your kiddo the next day after trick-or-treating.
Even if you don’t have kids, you end up “borrowing” candy from your next-door neighbor or cousins or friends’ kids too! I understand: it’s hard to resist! But this year, why not do something better with the candy and enjoy it on a different level? Enter this scrumptious Halloween Pumpkin Crepe Cake with Halloween Candy as its decor!
 I remember the first time I saw a crepe cake I thought how could something so simple be so elegant and pretty? It’s also a very easy dessert to make, which makes it a good opportunity to showcase your favorite Halloween candy and not feel too childish about it. Adults can and SHOULD enjoy Halloween candy too and this Pumpkin Crepe Cake is a nice, poised way to do so! 😉
Of course, when thinking of a crepe cake I wanted to include something very seasonal and beloved by many: pumpkin. This time of year you can find pumpkin everywhere but I also needed to find many other ingredients. Of course, my go-to Ralphs grocery store conveniently had all of the items I needed to create my crepe cake confection.
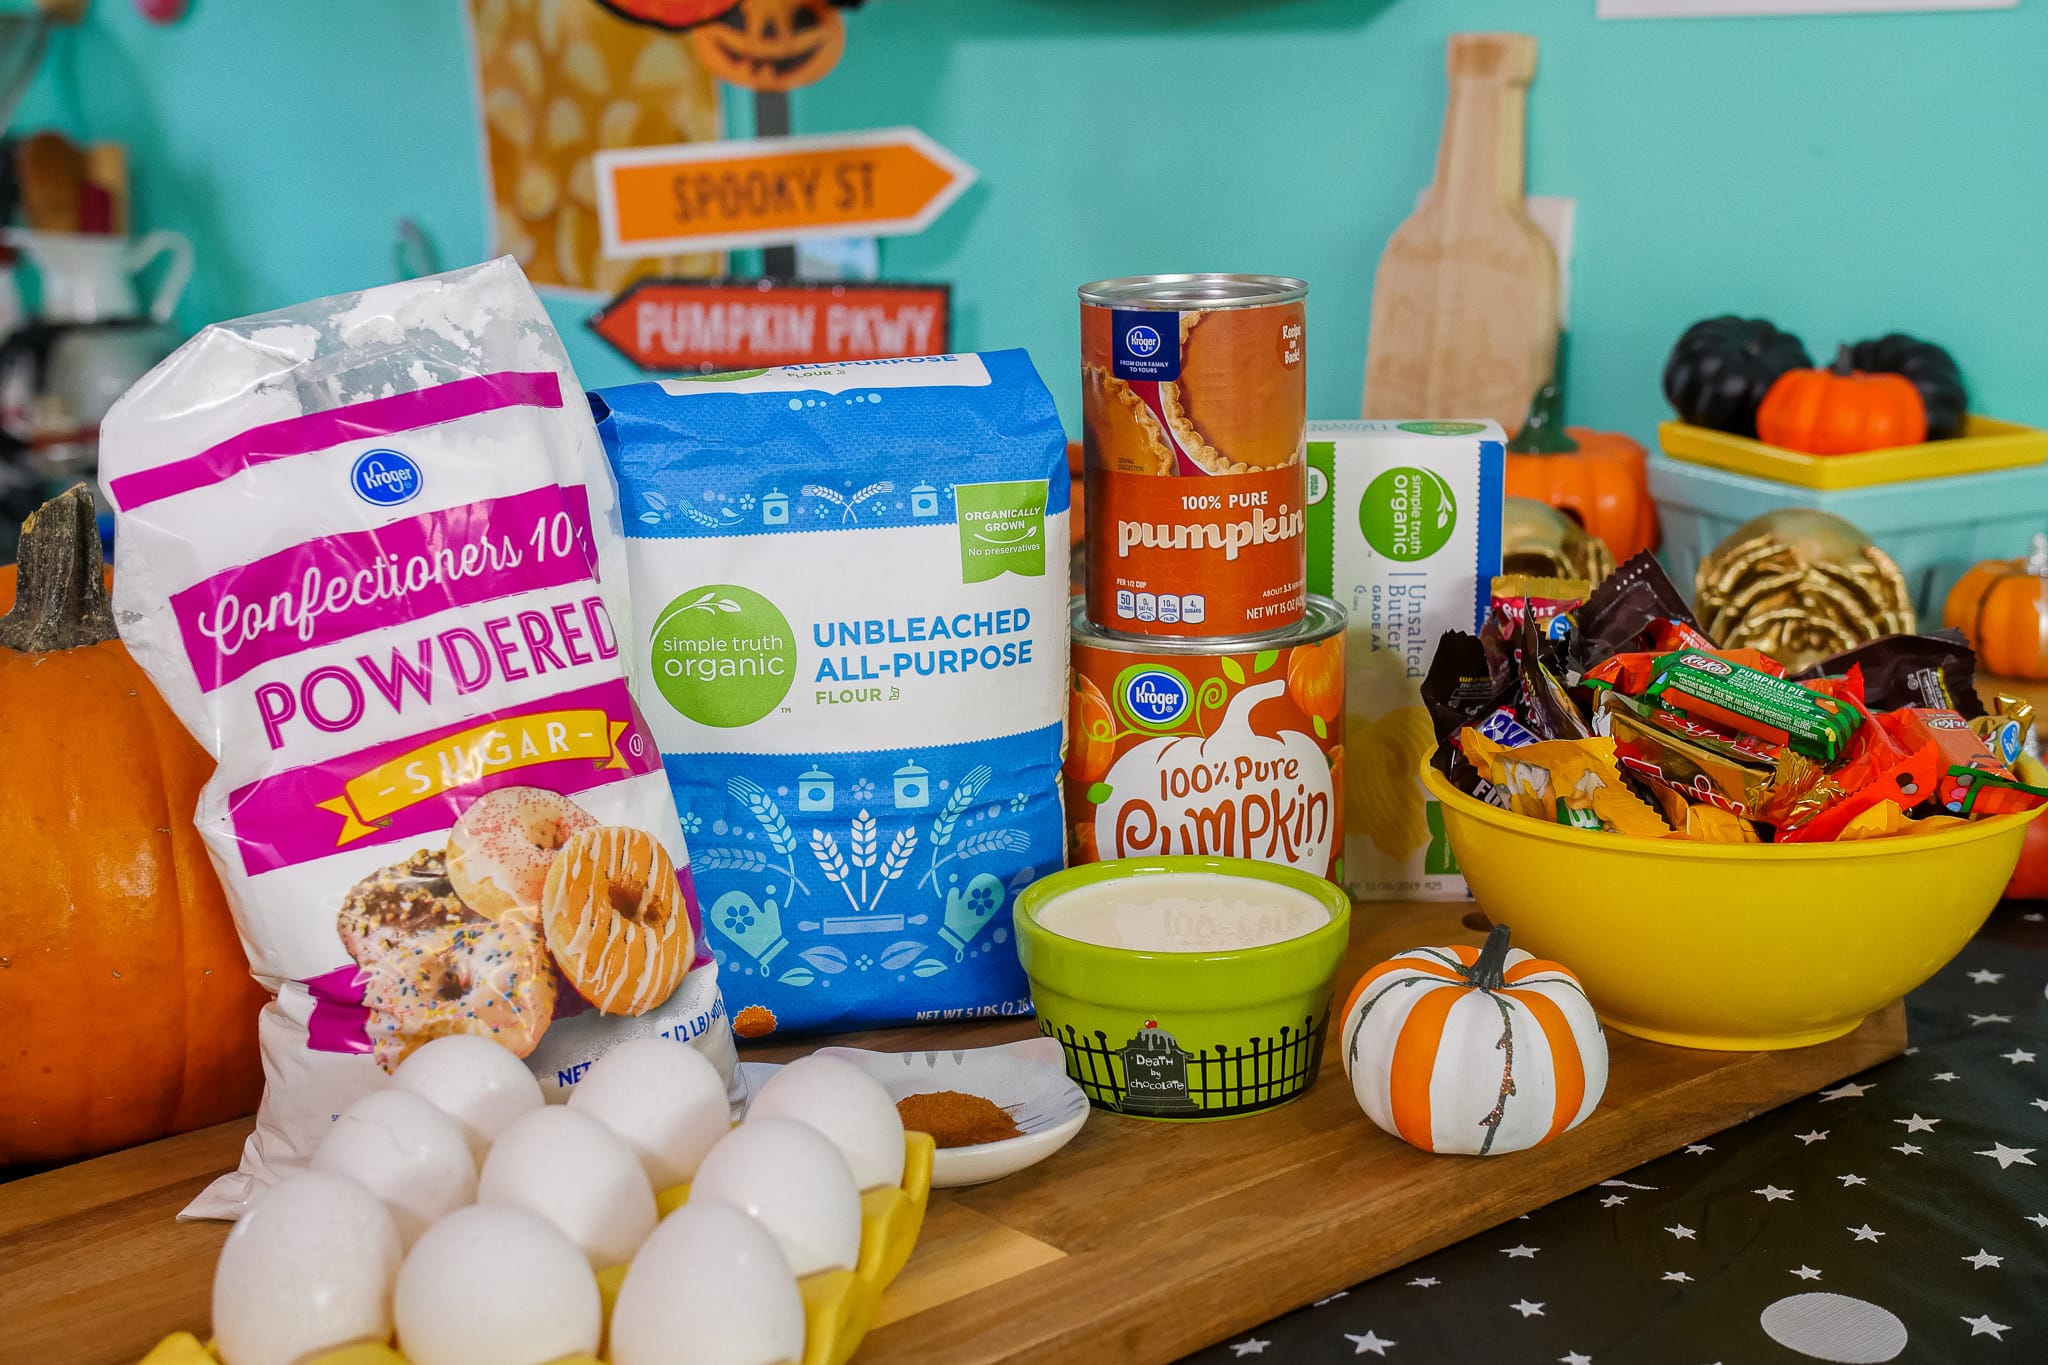
I quickly headed over to the baking needs aisle first and I went for a few of the Kroger staple brands for the basics: flour (found a good Simple Truth Organic all-purpose flour option), powdered sugar and the beloved pumpkin puree that even came in fall-themed cans.
I was amazed that I also found a Simple Truth Organic unsalted butter that was even cheaper than non-organic options! I choose to purchase many of my basics from Kroger because I know they are good quality and many times they are more affordable than some of the most popular brands.

Of course, after the basic ingredients for the crepes, I was missing the most exciting ones: the candy! My jaw literally dropped when I saw the Halloween candy section at my Ralphs, it was gigantic! I appreciated that many of the bags were organized by type, be it chocolates or candy and also the variety packs were separated from the individual bags. It’s amazing how diverse Halloween candy has gotten through the years: no wonder all adults now want to taste their kids’ candy, we didn’t have these many options growing up!
 After getting everything I needed for my recipe, I perused some of the aisles a bit longer – I have a passion for grocery shopping and one of the things that make me feel happy is organization. The Ralphs location I went to had been recently remodeled and I was so excited by all the baking utensils in the different categorized aisles that I admit I stayed longer than I thought I would.
I love to shop at places that just have everything you need because the time I would spend going around searching for different products at different places is spent inside the store, at a much more relaxed and enjoyable pace!
This crepe cake needed to get done so after a (long) while walking around the aisles, I went home, prepped my crepe dough and hid my Halloween candy from my husband (men, or at least my man, are ALWAYS more easily tempted at the sight of candy and I knew it’d be torture for him not to be able to eat anything right away).
 A key element for a good crepe cake, and even just for good crepes in general, is to leave the dough to rest for at least an hour in the fridge (you can also even make it the day before and leave it overnight!). This time allows for air to escape the dough, bubbles to subside, and this makes the texture of your crepes smoother. They also won’t tear easily if you leave the dough to rest.
 Now, I must admit: crepe cakes do take a bit more time than you think to make, but the good thing is that it’s all repetition. You really just use 2-3 techniques to cook them and stack them and then repeat and repeat and repeat.
Don’t lose hope if the first crepe (or second or third) doesn’t come out perfectly: this is completely normal! I ended up making 3 ugly crepes before landing on one that was beautiful. And once you get that first good-looking crepe, oh man, you get your groove on! The key is not to lose momentum and keep on going until you finish the batter.
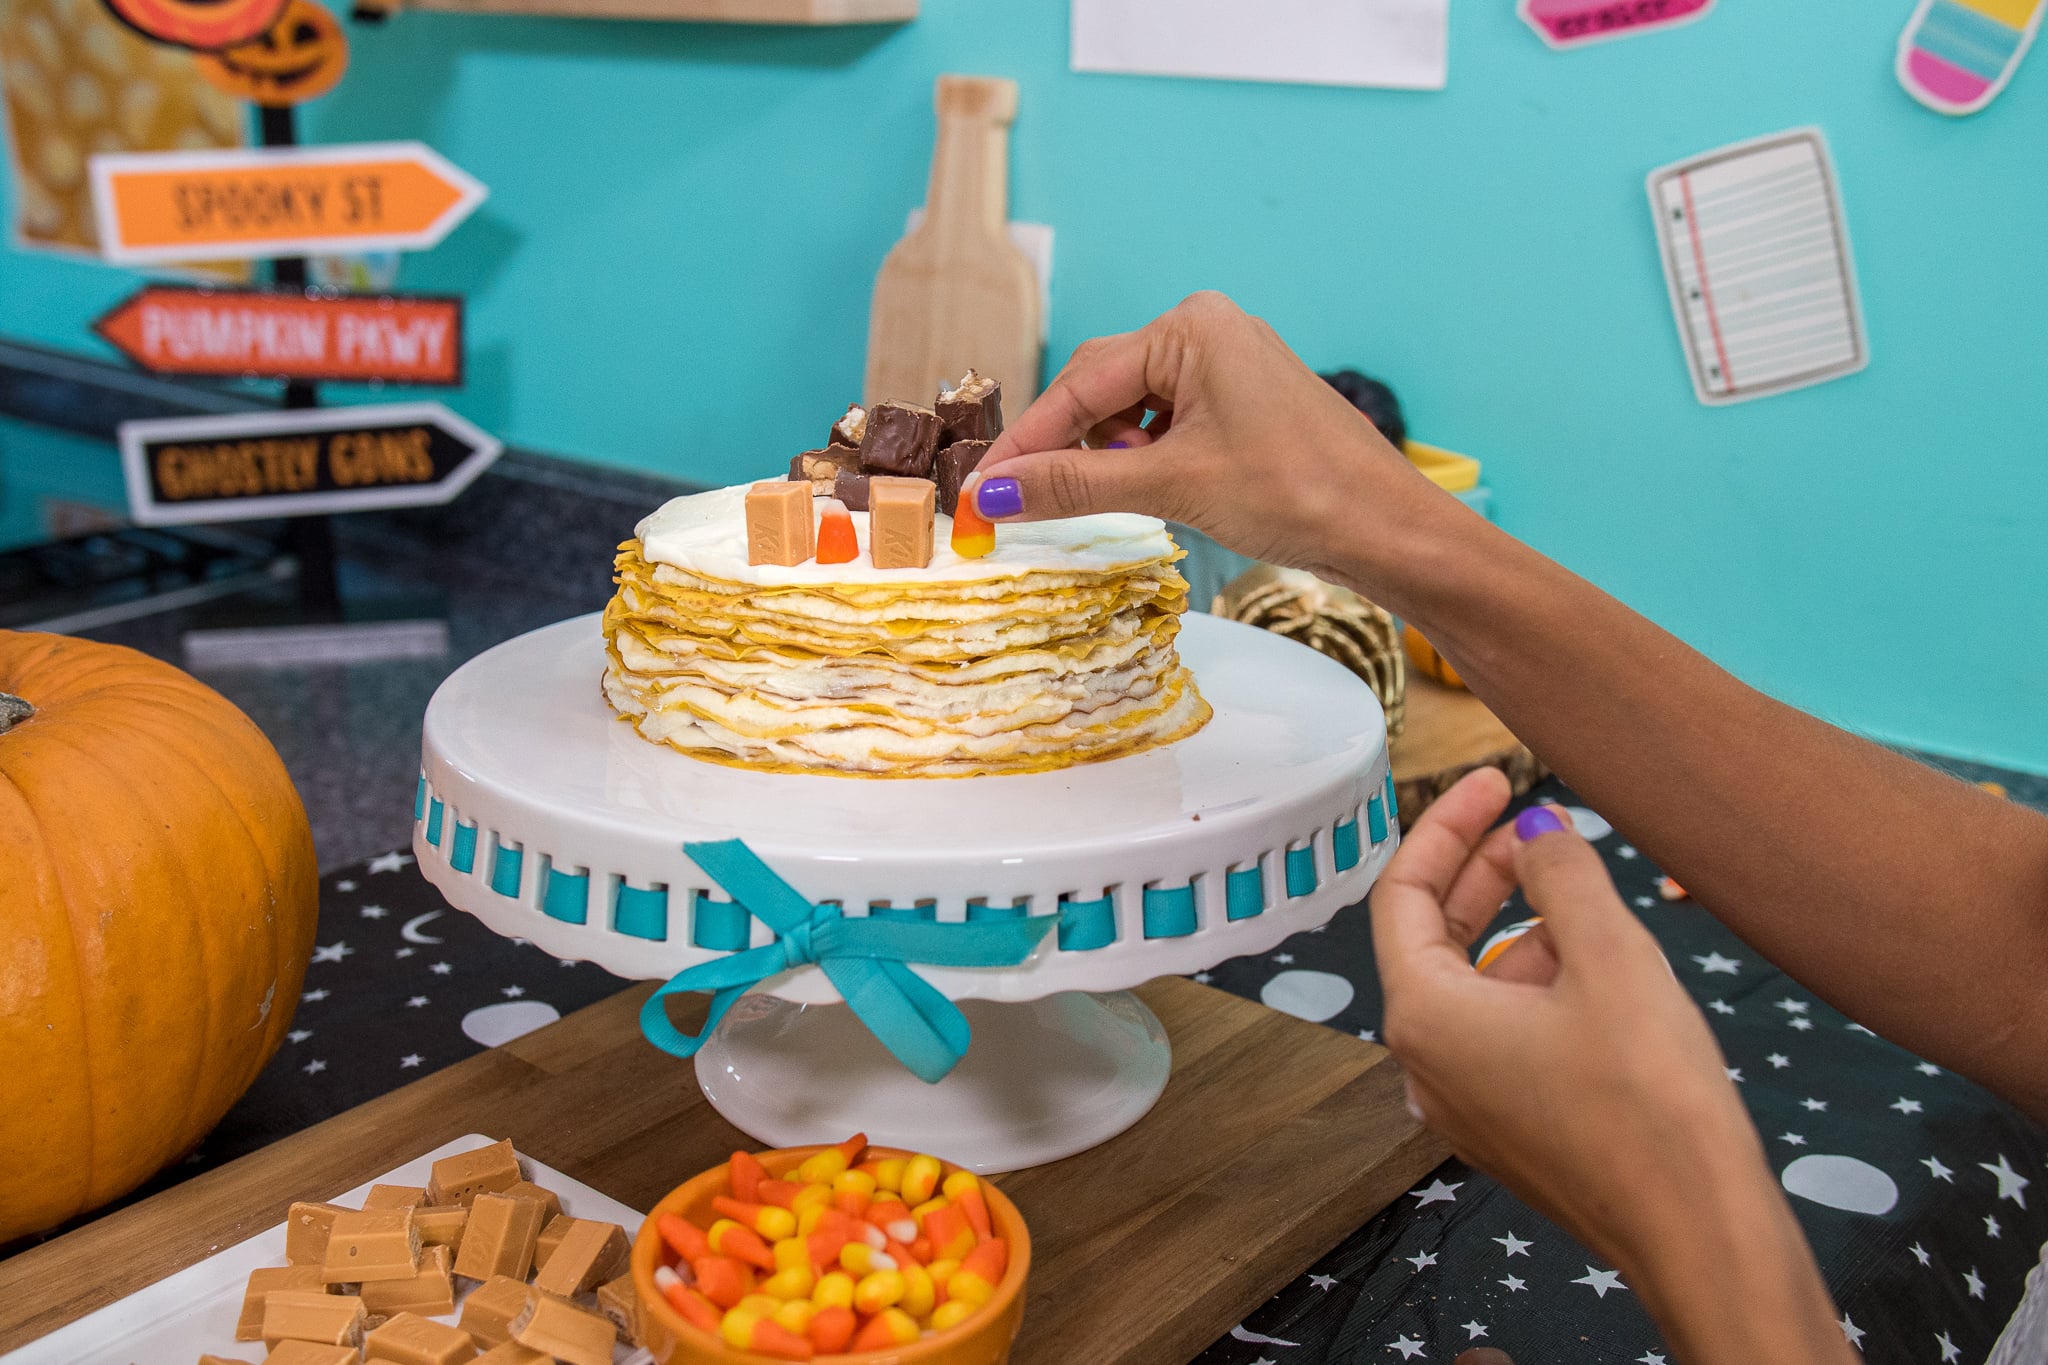 To decorate you can go the traditional route of making the whipped cream frosting I made or you could even add chocolate spread in-between the crepes and top the crepe cake with some chocolate ganache on top (orange and brown, very Halloween-ish!).
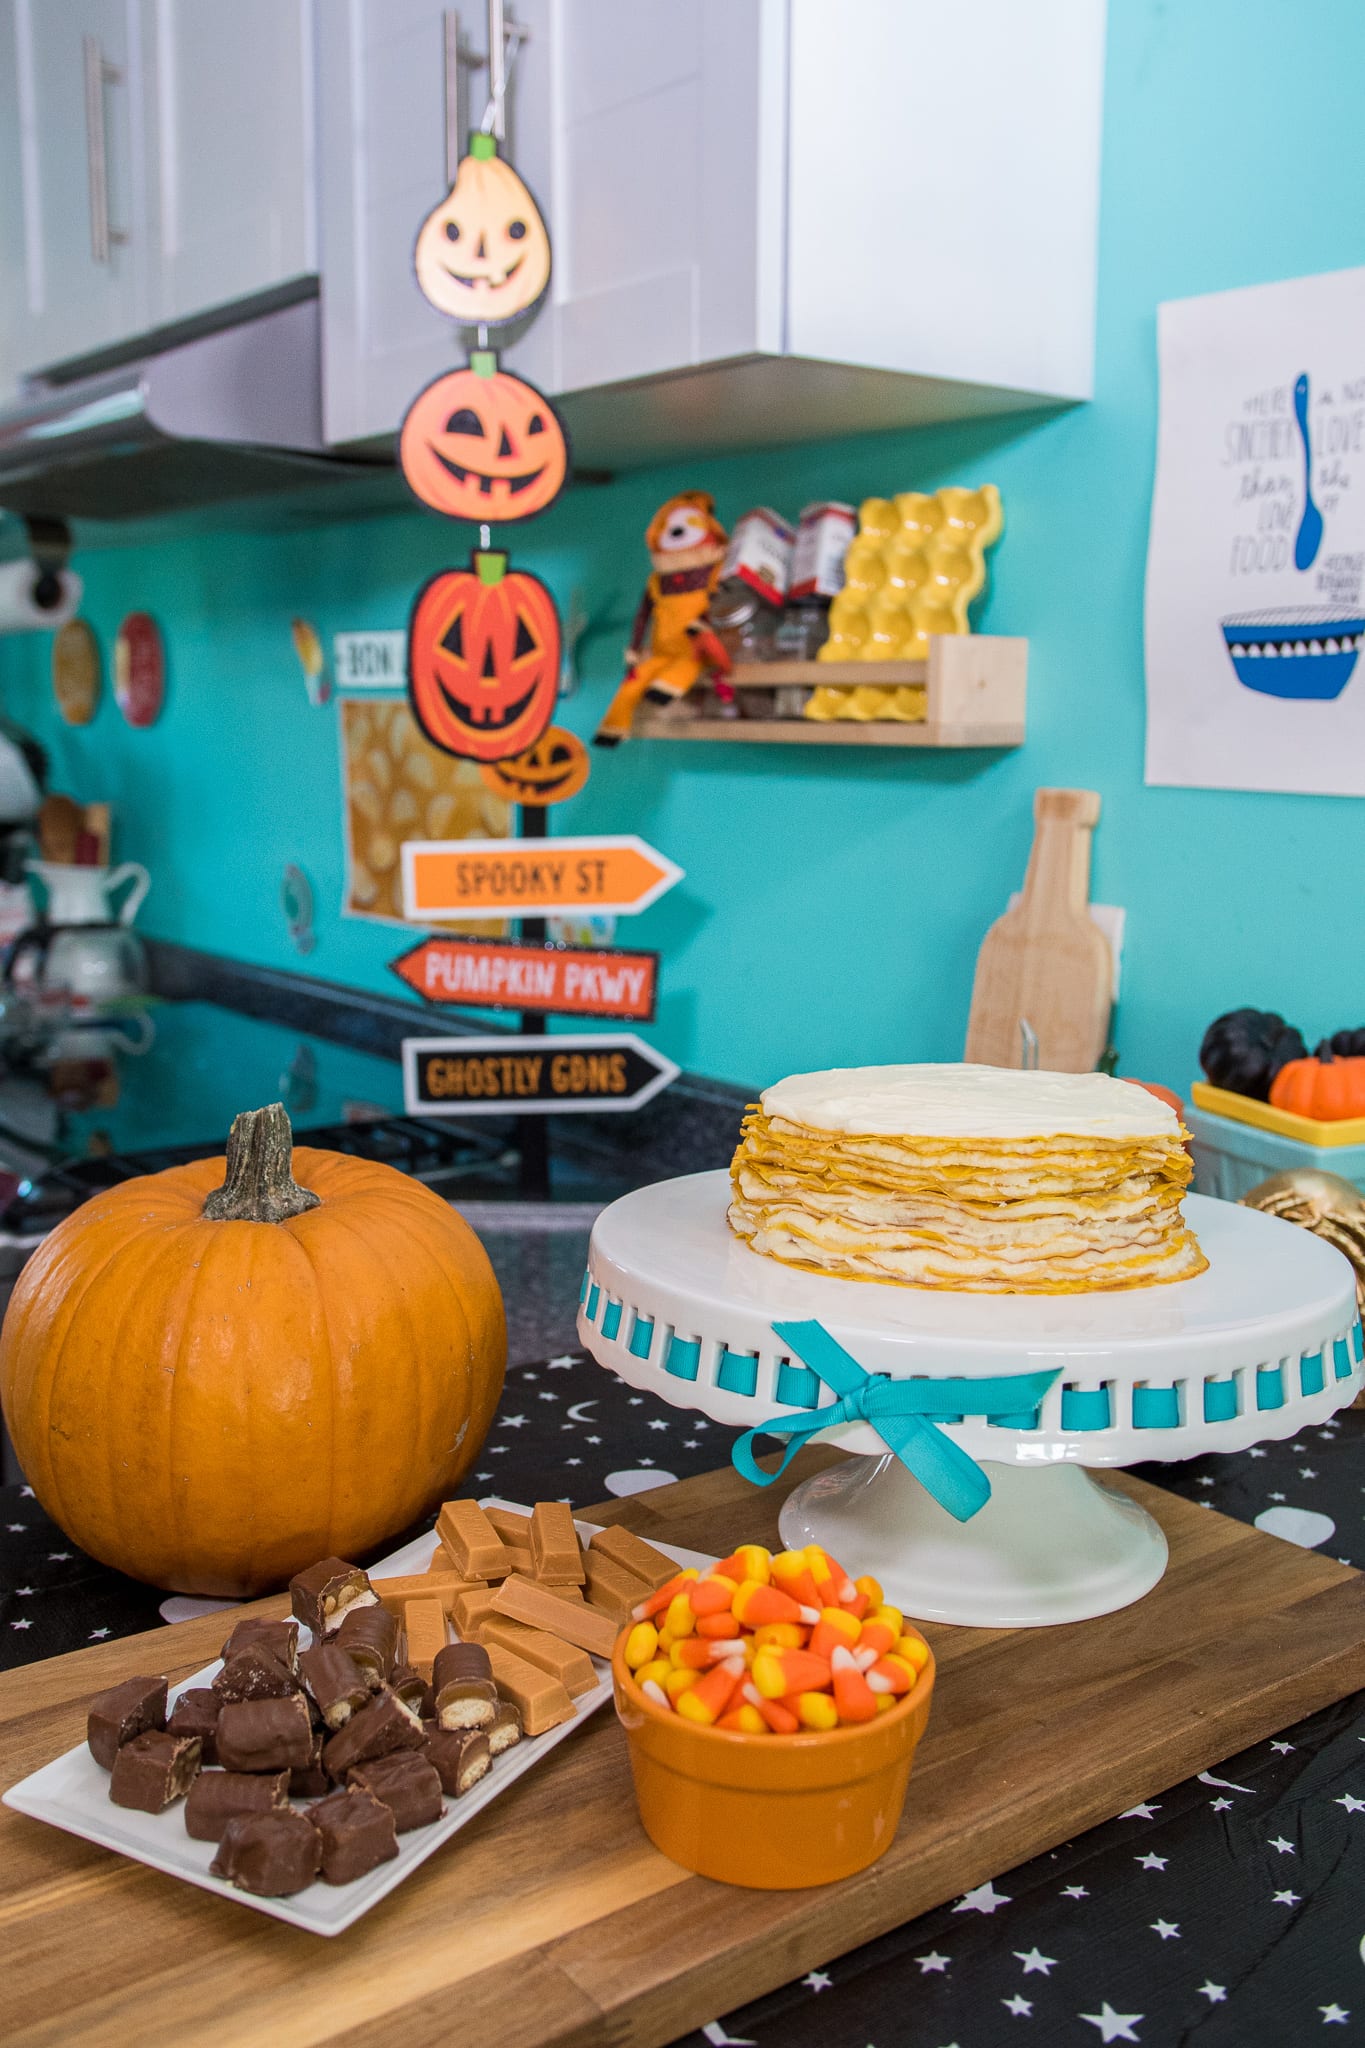
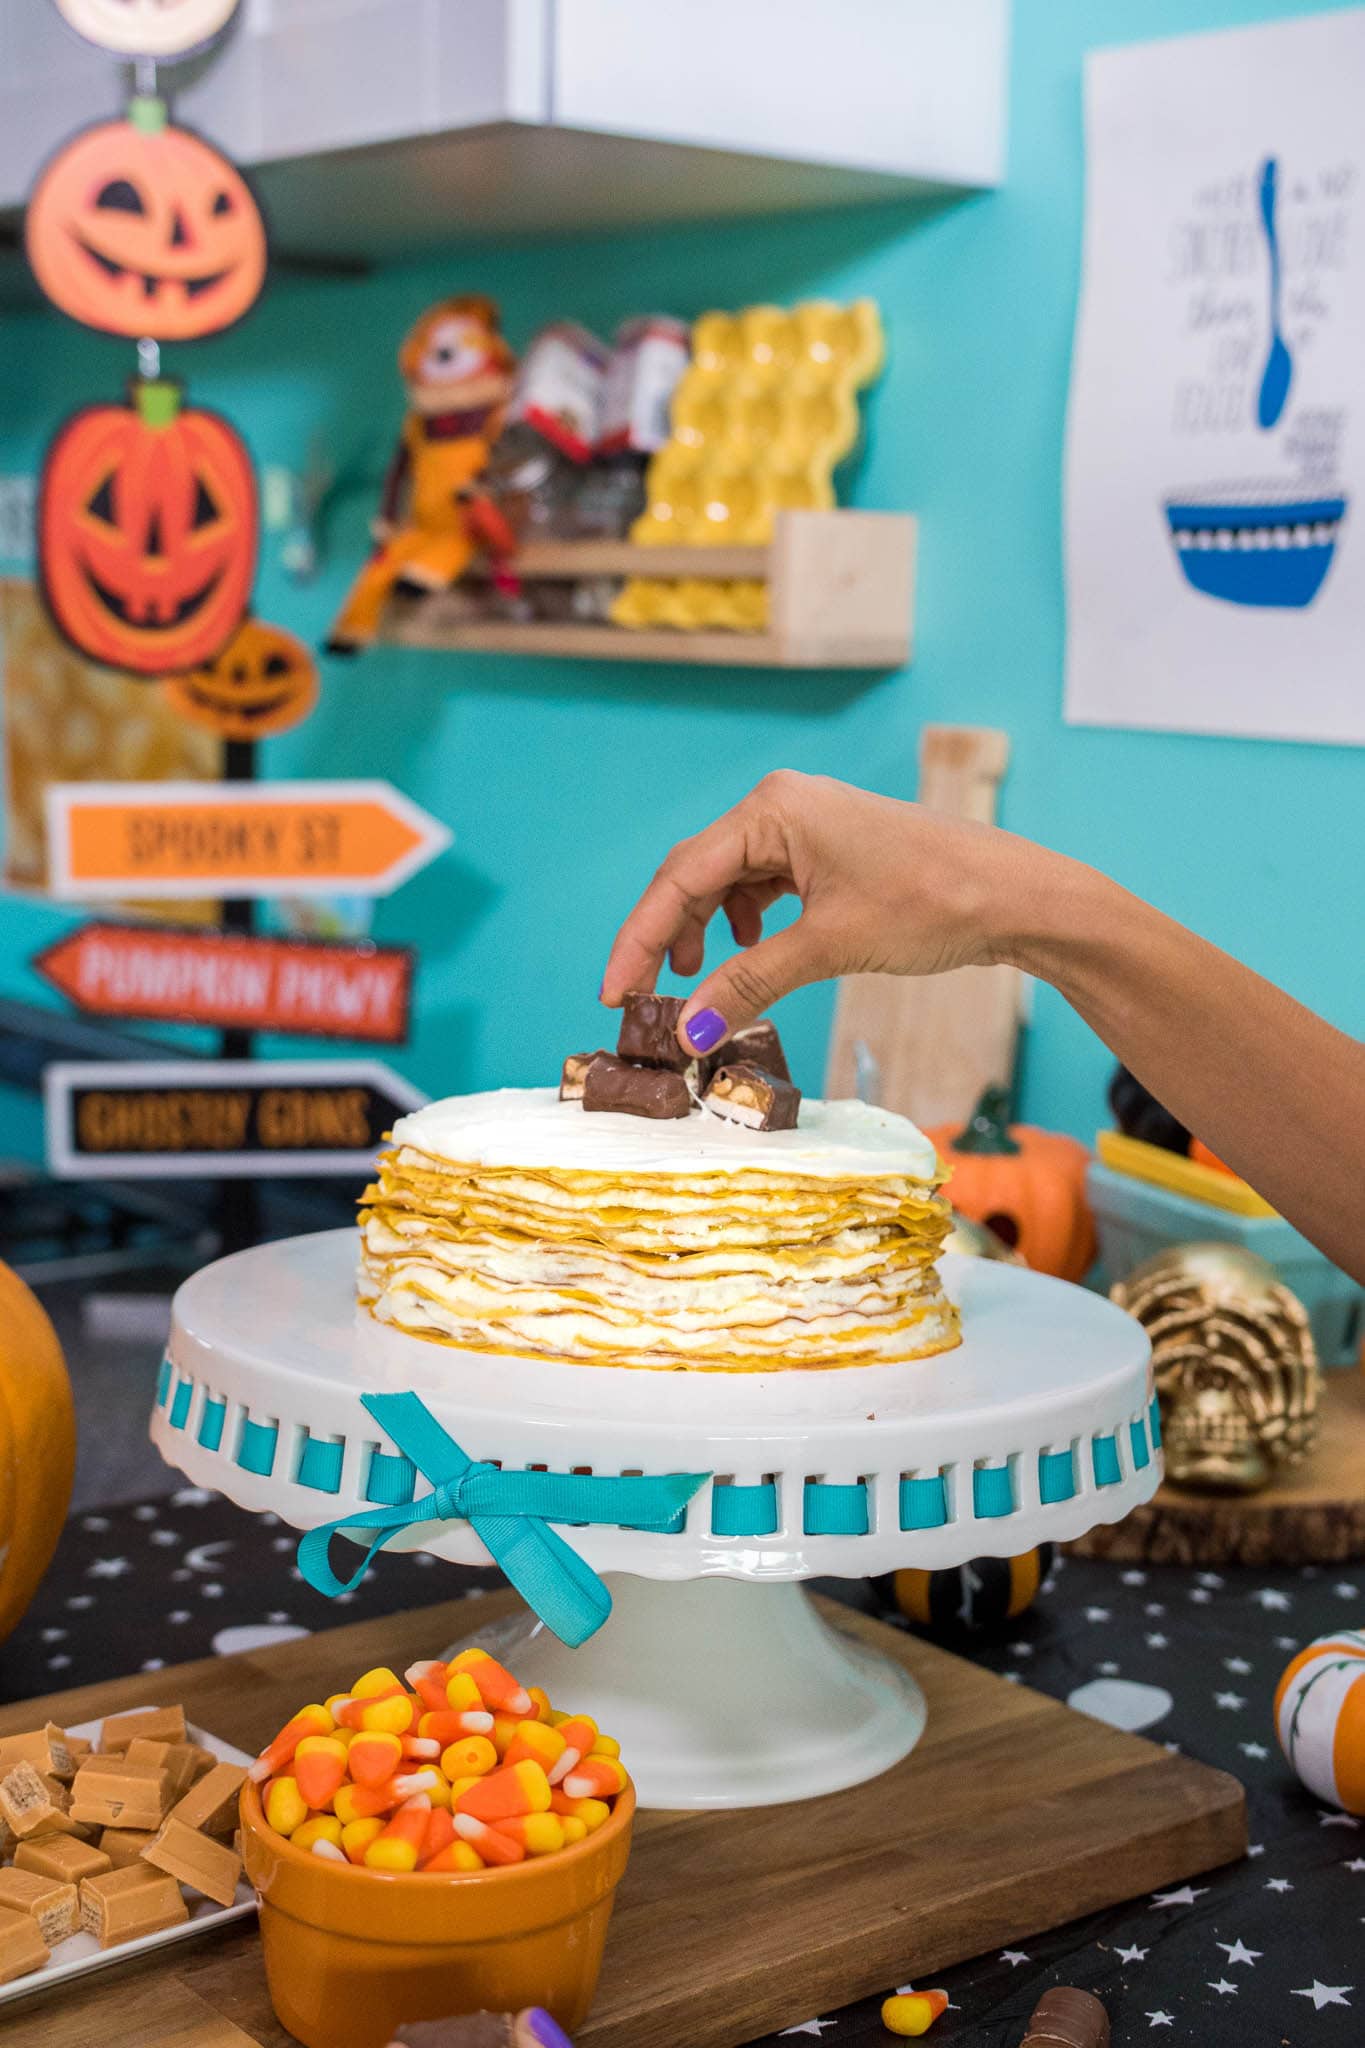
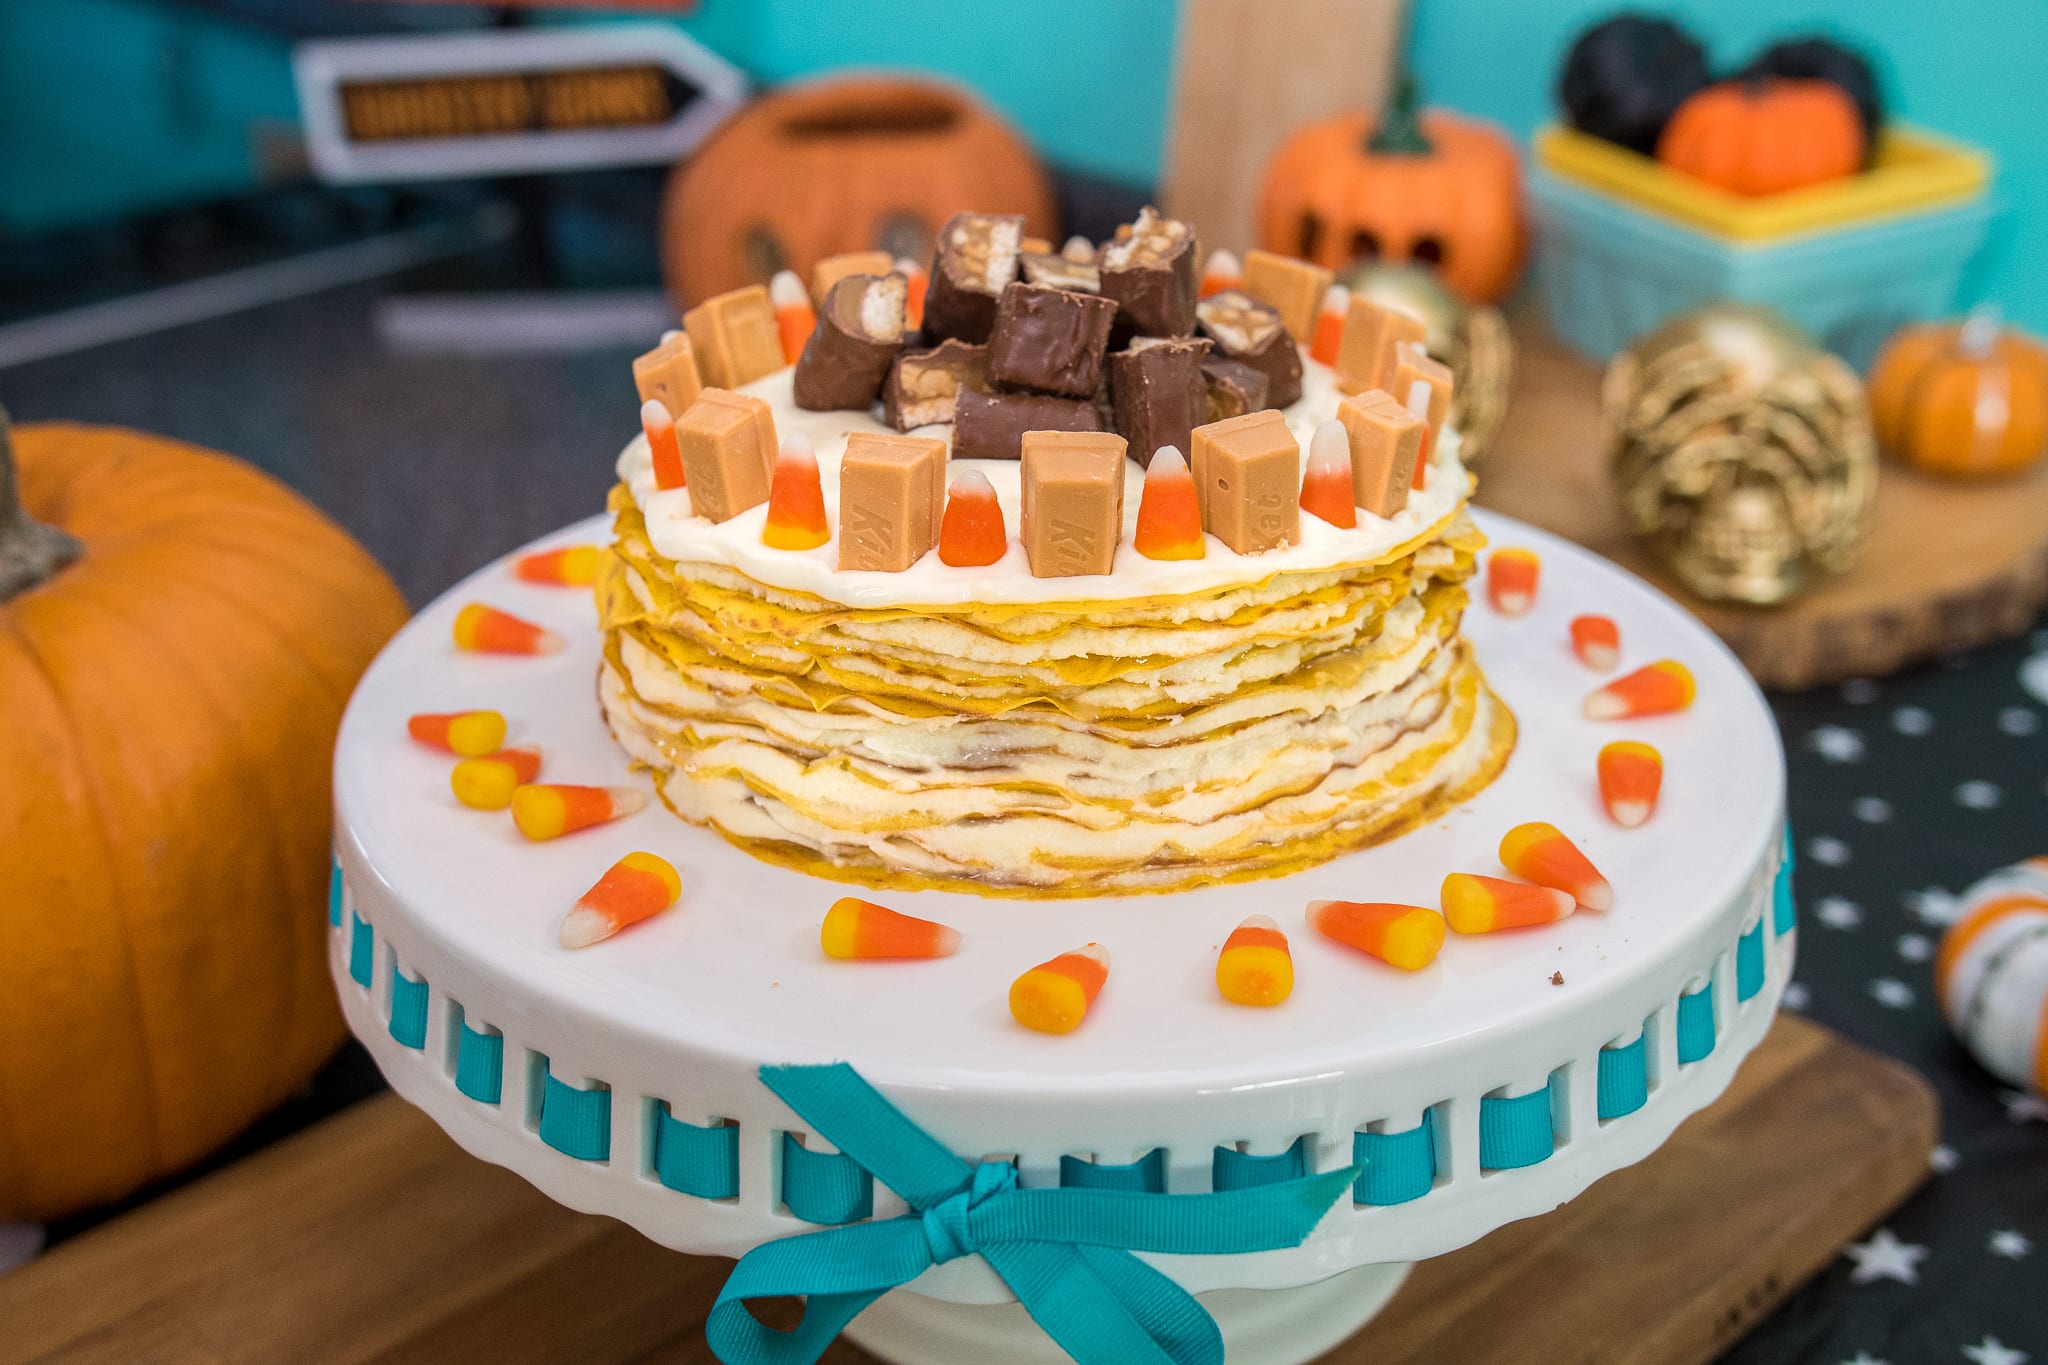
It all depends on the Halloween candy you decide for the top of course! The ones I chose were Pumpkin-spiced Kit Kats, candy corn (my favorite Halloween treat when I was a kid!), and a mix of Snickers and Twix, so their colors went along better with the white frosting. The great thing about this pumpkin crepe cake is that there are a thousand different types of frosting and ways to decorate.
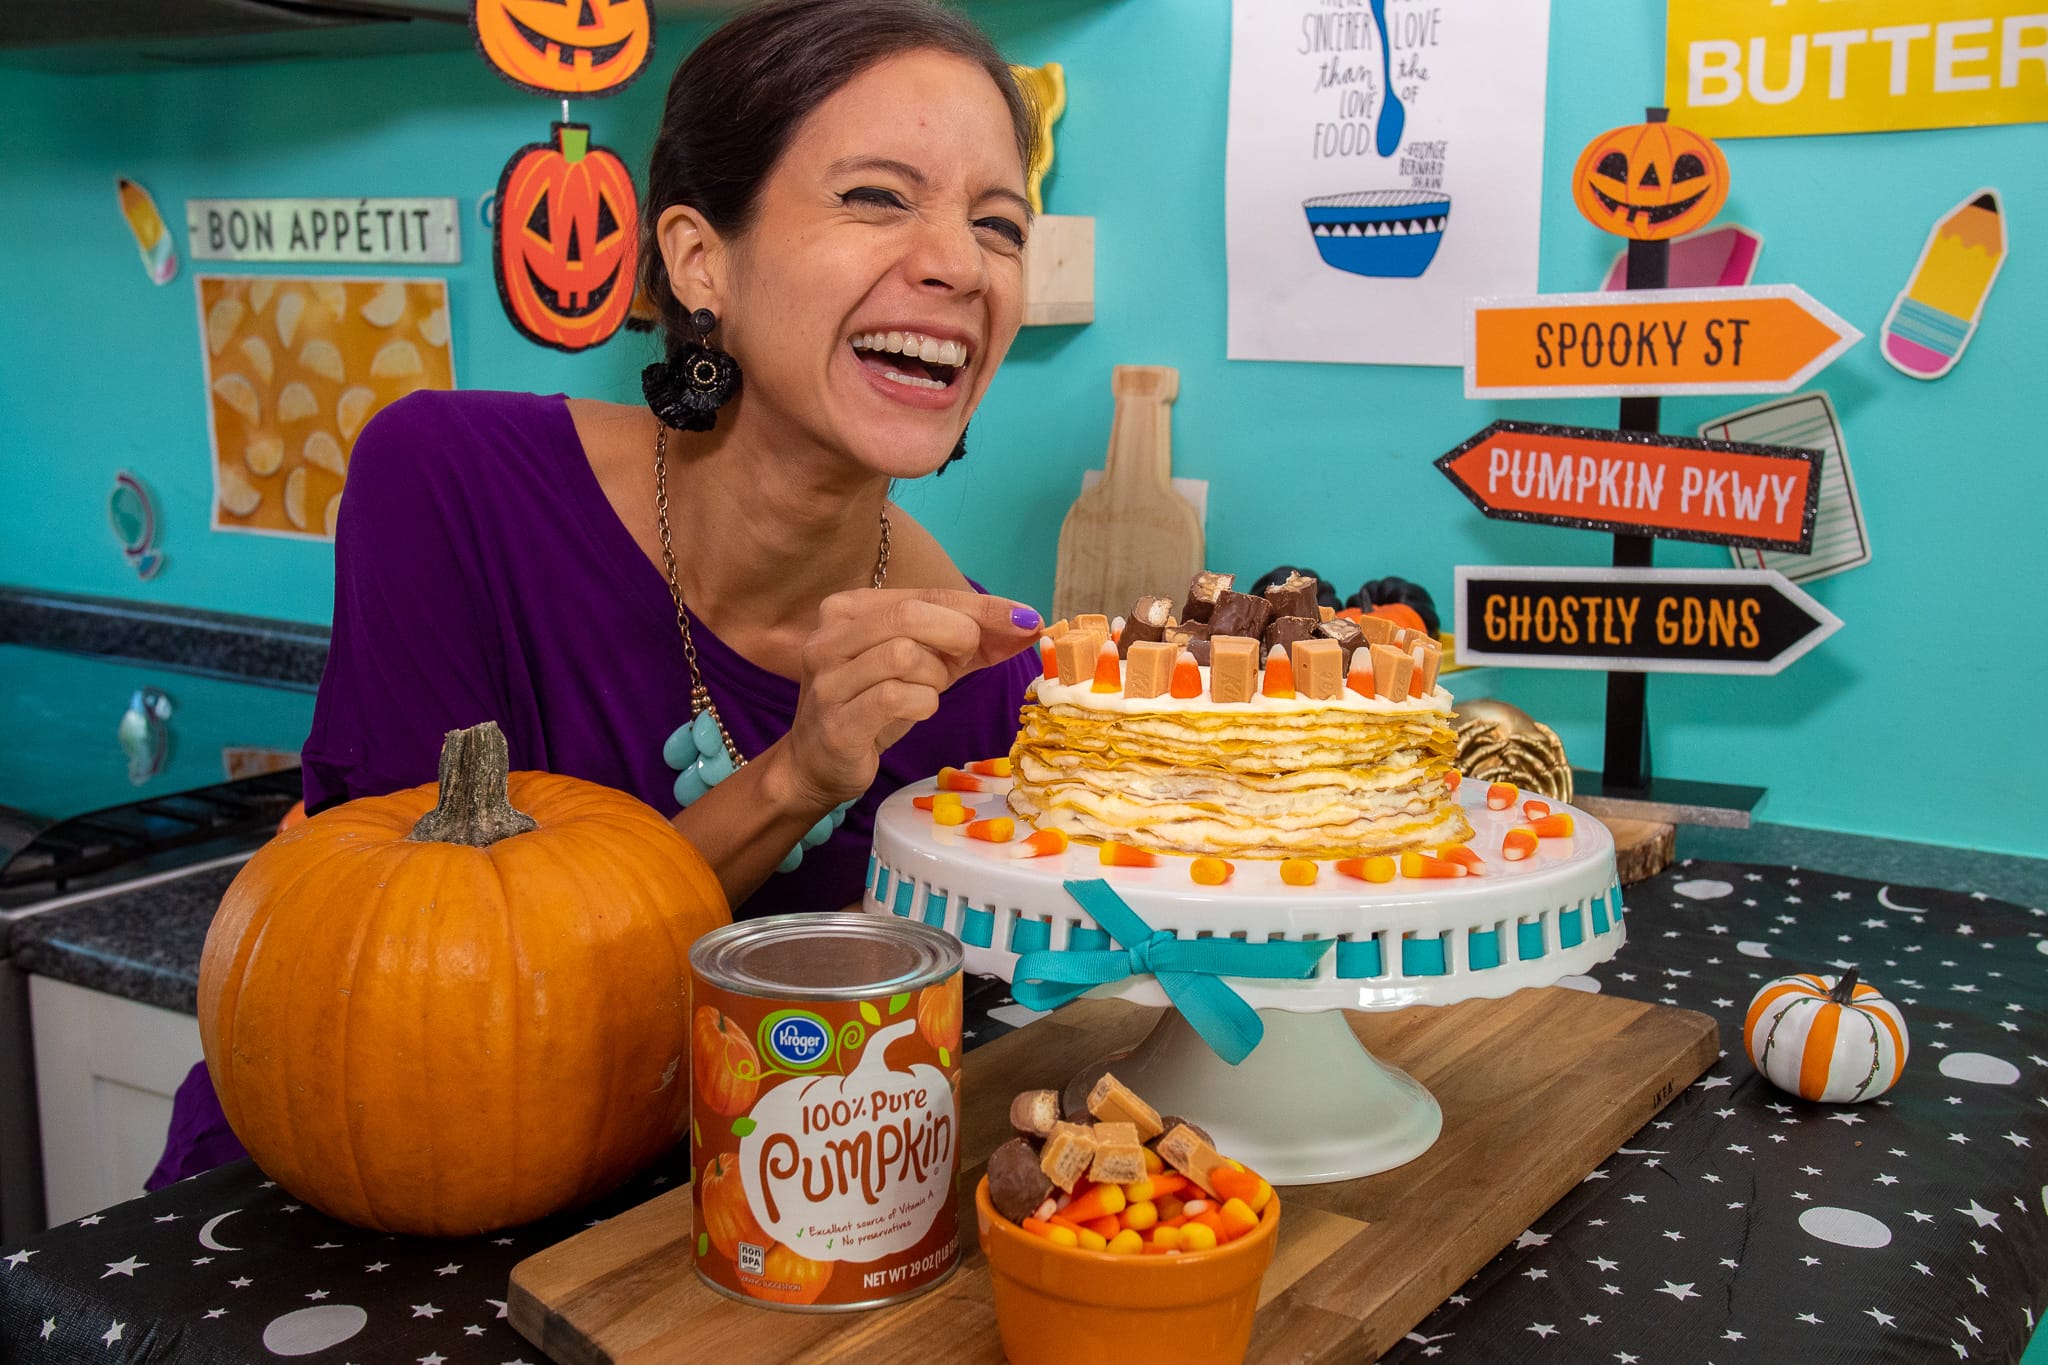 So come on, don’t be ashamed to buy Halloween candy for yourself and dare to get creative with it in the kitchen with this crepe cake! Leave me a comment with your favorite Halloween treats!
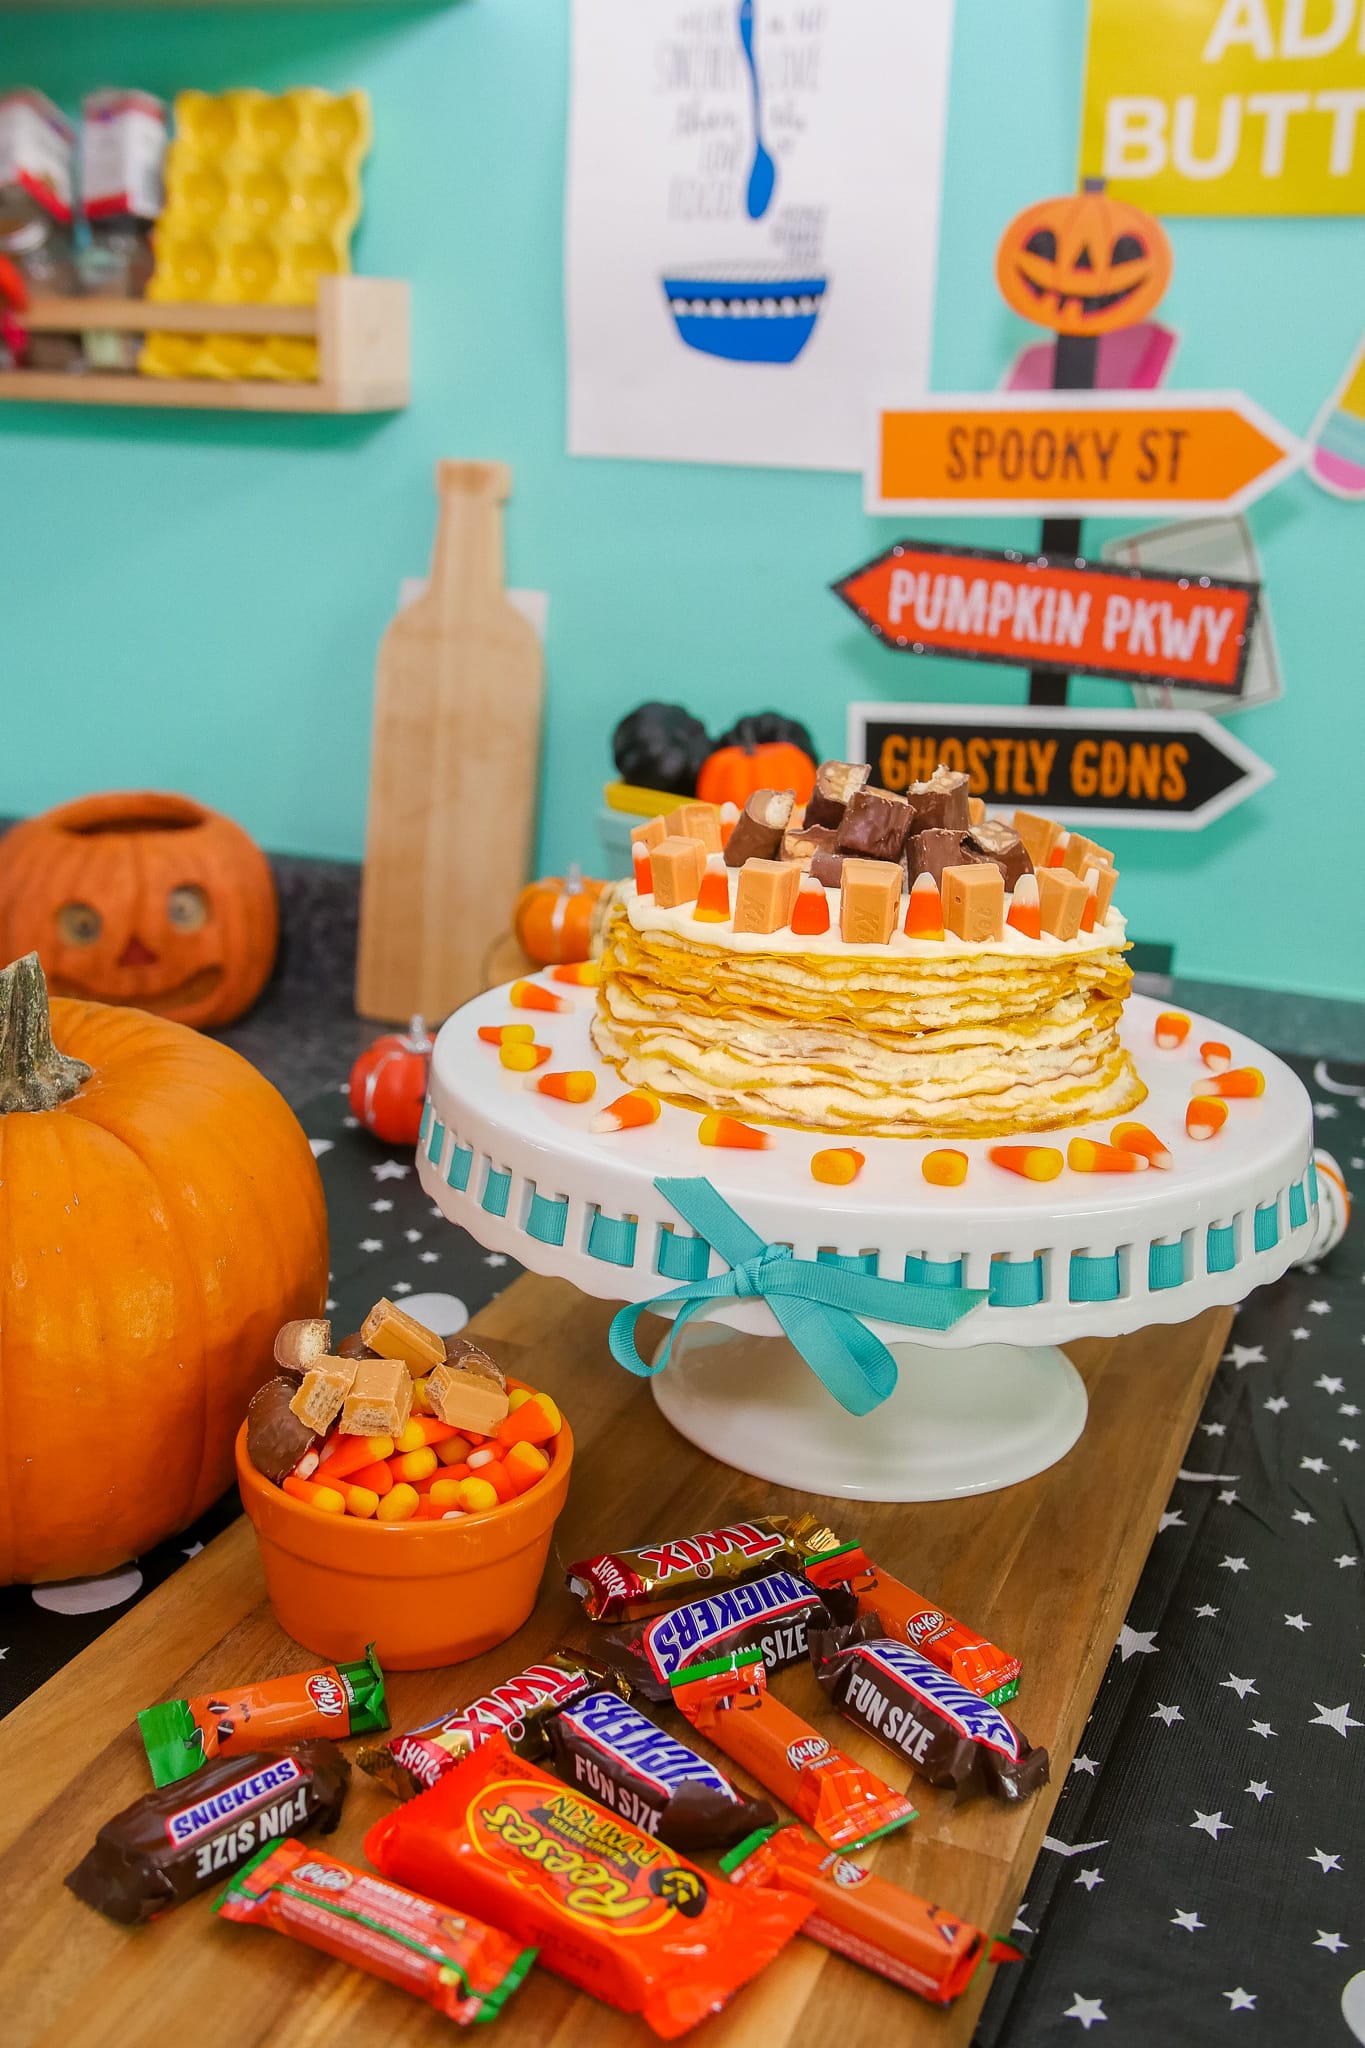

Halloween Pumpkin Crepe Cake
Ingredients
- 1¾ cup of whole milk
- 2 cups of all-purpose flour. I used Simple Truth Organic Unbleached All-Purpose Flour
- 6 tbsps of butter. I used Simple Truth Organic Unsalted Butter
- 4 large eggs
- ¾ cup of pumpkin puree – I used Kroger Canned Pumpkin Puree
- 2 tbsps of sugar
- ½ tsps of salt
- 1 tsp of clear vanilla extract
For frosting + decorations
- 2 cups of heavy whipping cream
- 1½ cups of powdered sugar. I used Kroger Powdered Sugar
- Your favorite Halloween candy and chocolates! I used candy corn, Kit-Kats, Snickers and Twix.
Instructions
- Make the crepe batter in a blender. Add all ingredients, starting with the liquid ones, and blend for a bit until well mixed. Cover and let the batter rest in the fridge for at least an hour.
- Take the mixture out of the fridge and let it rest 10 more mins at room temperature. Start heating up your crepe skillet/pan (see notes!) on low heat. Spray or brush the skillet with butter.
- Using a measuring cup (I chose a ¼ cup one because of the size of my pan), fill it up with batter and add it to the center of the skillet. Immediately start twisting your wrist and tilting and rotating the pan so as to spread the batter in a circular motion. Cook for about 30-60 seconds, or until you can start lifting the edges from the pan.
- Using an offset spatula, start to lift the crepe from the edges and quickly flip it from the center. Cook this side for even less than the first side, or until the crepe can easily slide as you move the pan. Transfer crepe to a big serving plate and allow it to cool. Use the same measuring cup and method to make as many crepes as you can!
- Allow all crepes to cool before starting to assembly. In the meantime, make your whipped cream frosting by beating whipping cream along with powdered sugar.
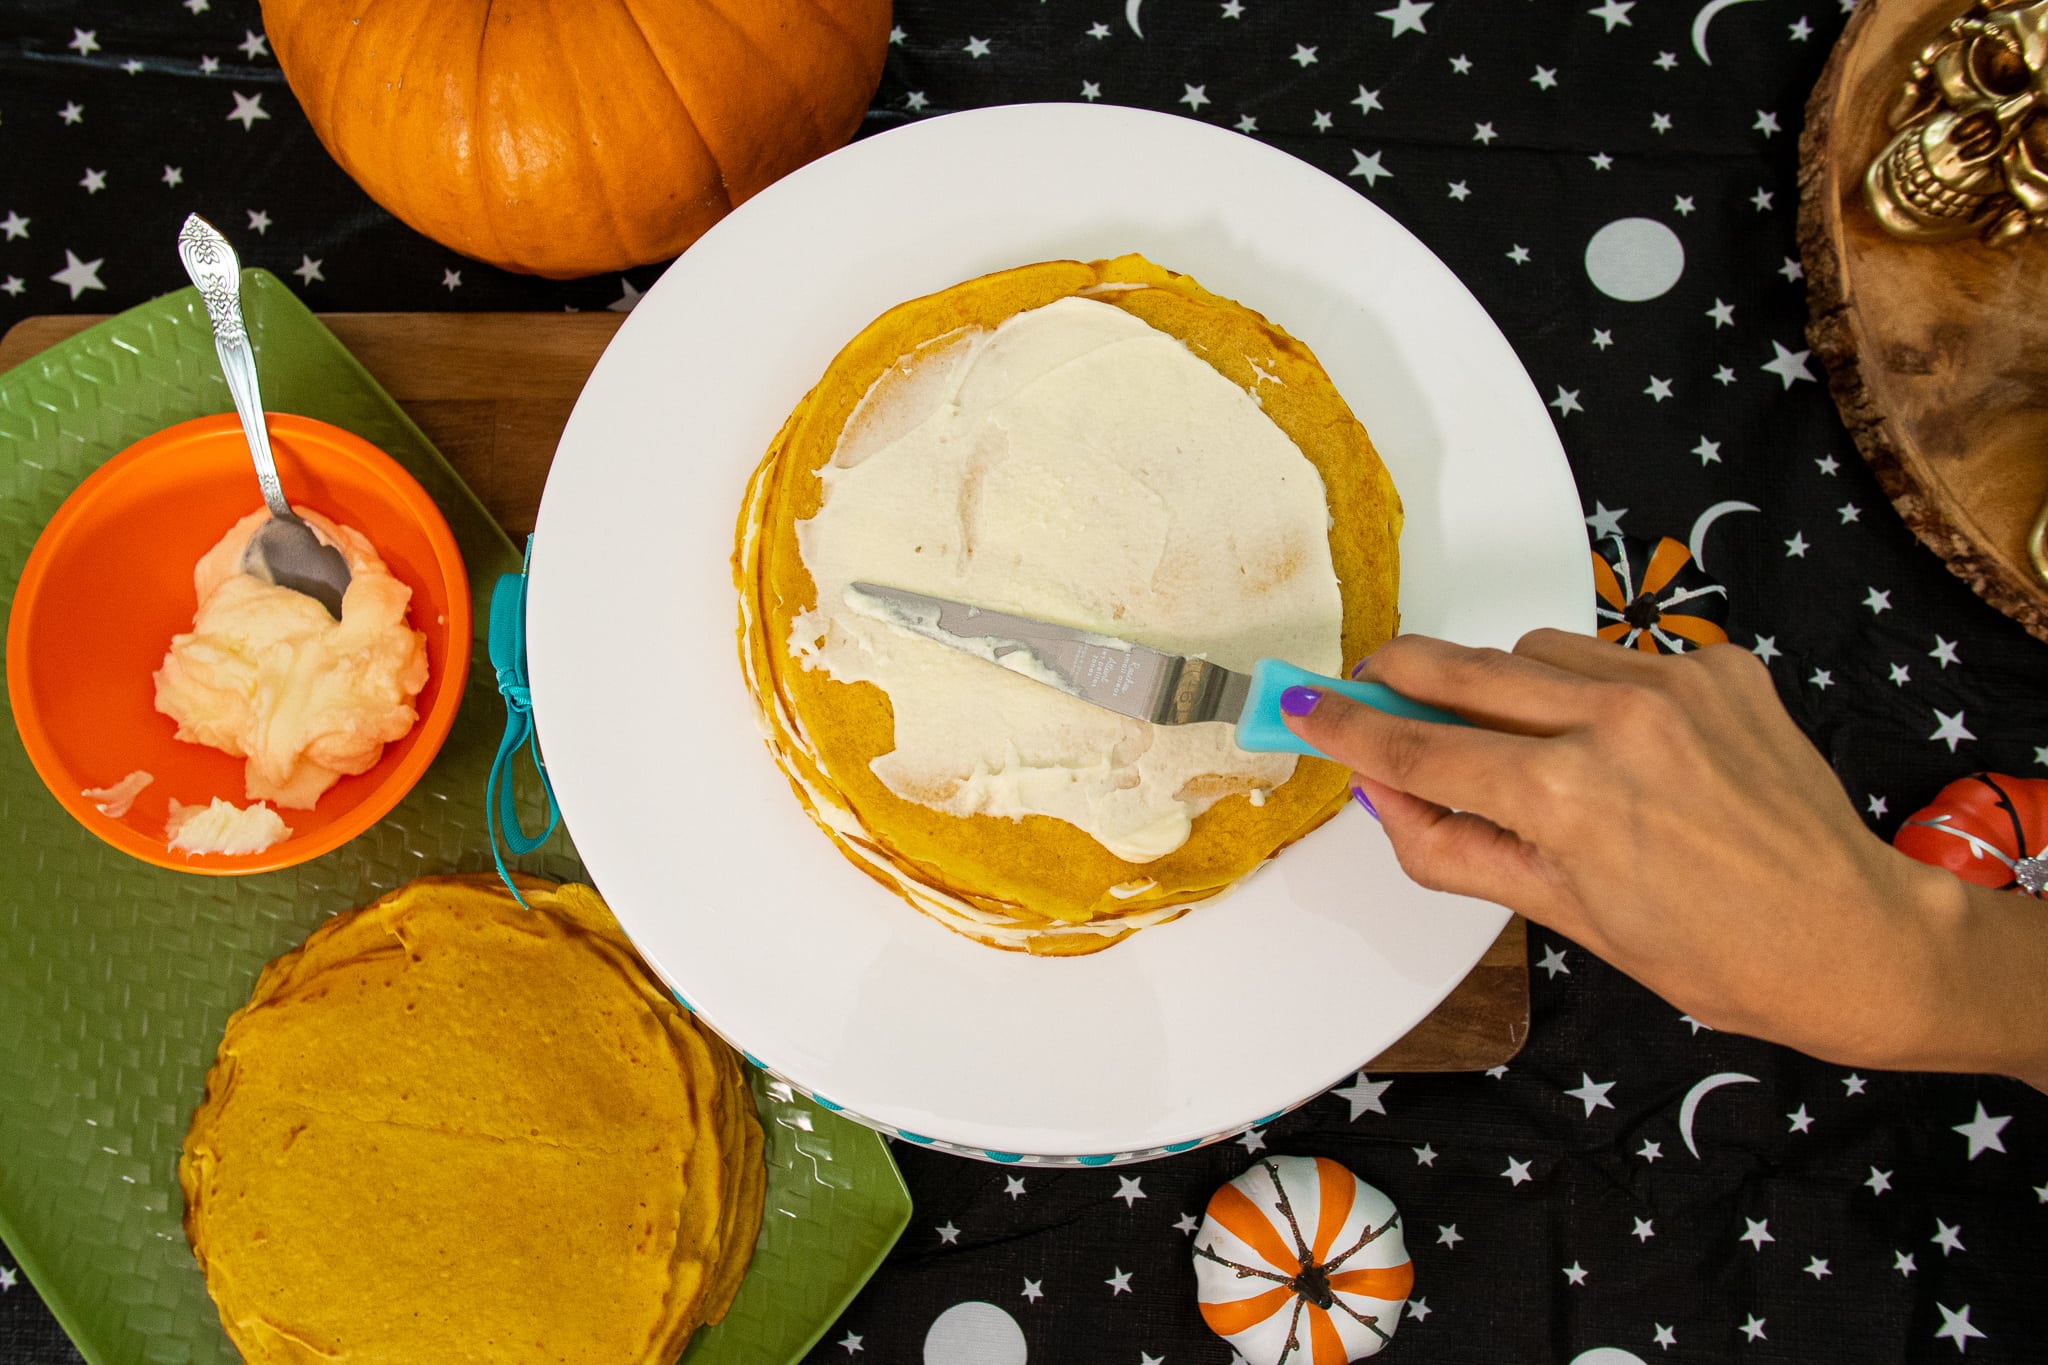
- Once you have your frosting ready and crepes cooled it’s assembly time! Start by placing one crepe at the bottom and spreading frosting (about a big spoonful) on top. Spread the frosting with an offset spatula until it reaches the edges, leaving just about ¼ of an inch from the edge. Lay another crepe on top of this frosted one and gently press them against each other, making sure spread the frosting a bit outward so it shows. This also helps in stabilizing the cake as you stack more and more. Repeat this process until you've used all your crepes. If you have some irregularities in size, you can trim the edges of those that are too long but it's best to wait till the end to do so.
- Top of your crepe cake with a generous amount of frosting on top of the last crepe and spread it evenly. Now, cover your cake with plastic wrap and leave it inside the fridge for at least an hour, preferably two hours. This is very important for the layers to stick well!
- Once this time has passed, you can add your favorite Halloween candy or chocolate on top to decorate the frosting layer!
Notes
- About the perfect “crepe pan”: you don’t need a fancy “just-for-crepes” pan, a normal one can do! I prefer using one that I know is nonstick and not too big, not too small so that it’s manageable to do the wrist-spinning movement.
- If your stove’s heat is too strong: like mine, that’s not well-regulated even on “low”, then I’d suggest adding the crepe batter and making the circular tilting and twisting step off the heat and once the batter had spread, put the skillet on the heat.
- About the frosting: I find the whipped frosting rises easier if I beat the cream in a glass container that has been inside the freezer for at least 10 mins. The heavy cream or whipping cream has to also be very cold. You may add more or less powdered sugar, as long as the frosting holds its shape when you scoop it.

If you liked this Halloween Pumpkin Crepe Cake recipe, you might like some of my other recipes too.
And remember, if you try this recipe and want to share your pictures, tag me @lacooquette on Instagram. I’d love to share your pictures on my IG stories.
Note: We published this recipe originally on October 22, 2019.

Leave a Reply