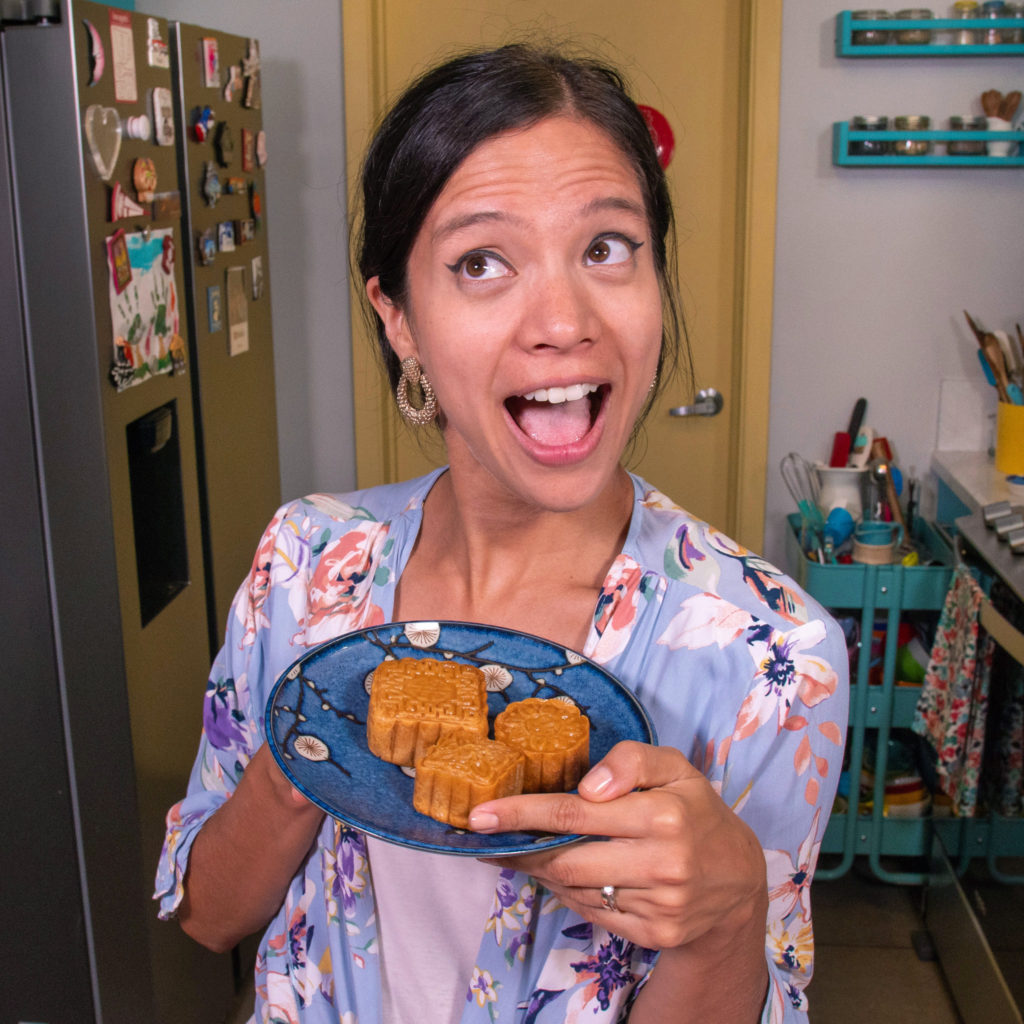
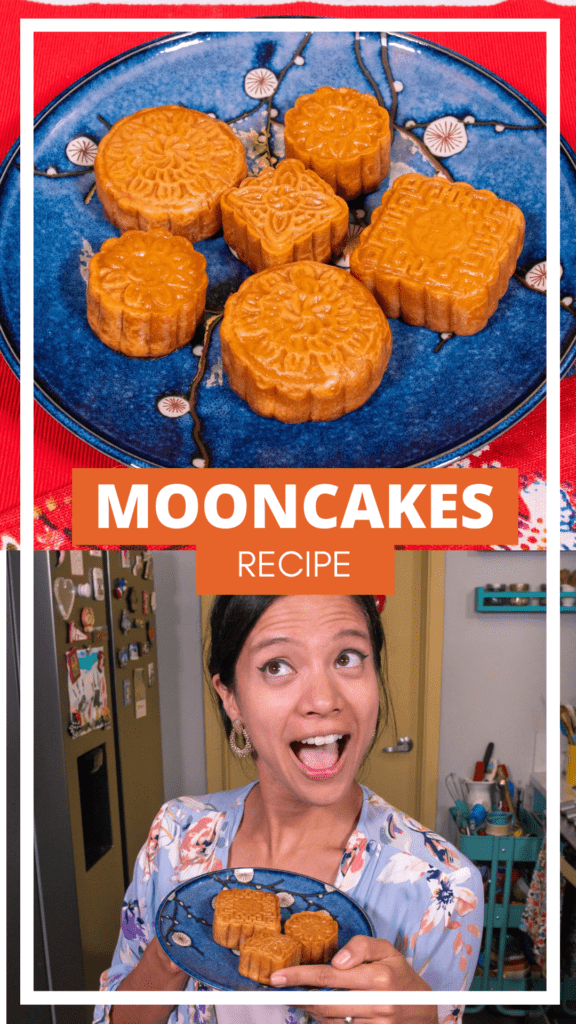
I had been waiting to try this mooncake recipe for a long time. But now the Mid Autumn Festival is here, and it’s the perfect time to give it a try at home!
Mooncakes are the most significant dish for this Chinese festivity, but you might have seen them in movies like Over the Moon and Wendy Wu: Homecoming Warrior.
To be honest, I felt overwhelmed after reading several mooncake recipes. That’s why I organized this recipe in three simple stages so you can make this beautiful treat at home.
But first, do you know why mooncakes are so popular this time of year?
Mooncakes: The Mid Autumn Festival Treat
An ancient legend says that mythical archer Hou Yi saved the world. The ten suns rose at the same time causing devastation. Yi shot down nine of the suns, saving the world and establishing a balance.

Picture by Eva Elijas on Pexels.
An immortal sent Yi an elixir of immortality, as a token of admiration for his heroism. Versions about what happened next abound, but all point to Chang’e becoming the Moon Goddess after drinking the elixir.
Chang’e favorite treat was the mooncake, so it became a powerful symbol of romantic love, as Yi offered Chang’e mooncake to celebrate and worship her.
In this regard, the Mid Autumn Festival -also called Moon Festival- is one of the most important festivities in Chinese and other Asian cultures, just second after the New Year. For centuries, this festival has brought Chinese families together, to celebrate not only the Moon Goddess but family reunion.
Historians claim that this festivity has been celebrated for over 3,000 years when the Chinese Emperor worshipped the moon for abundant harvests.
Now, let’s cut to the chase, and get back to the recipe!
Simplifying the mooncake recipe
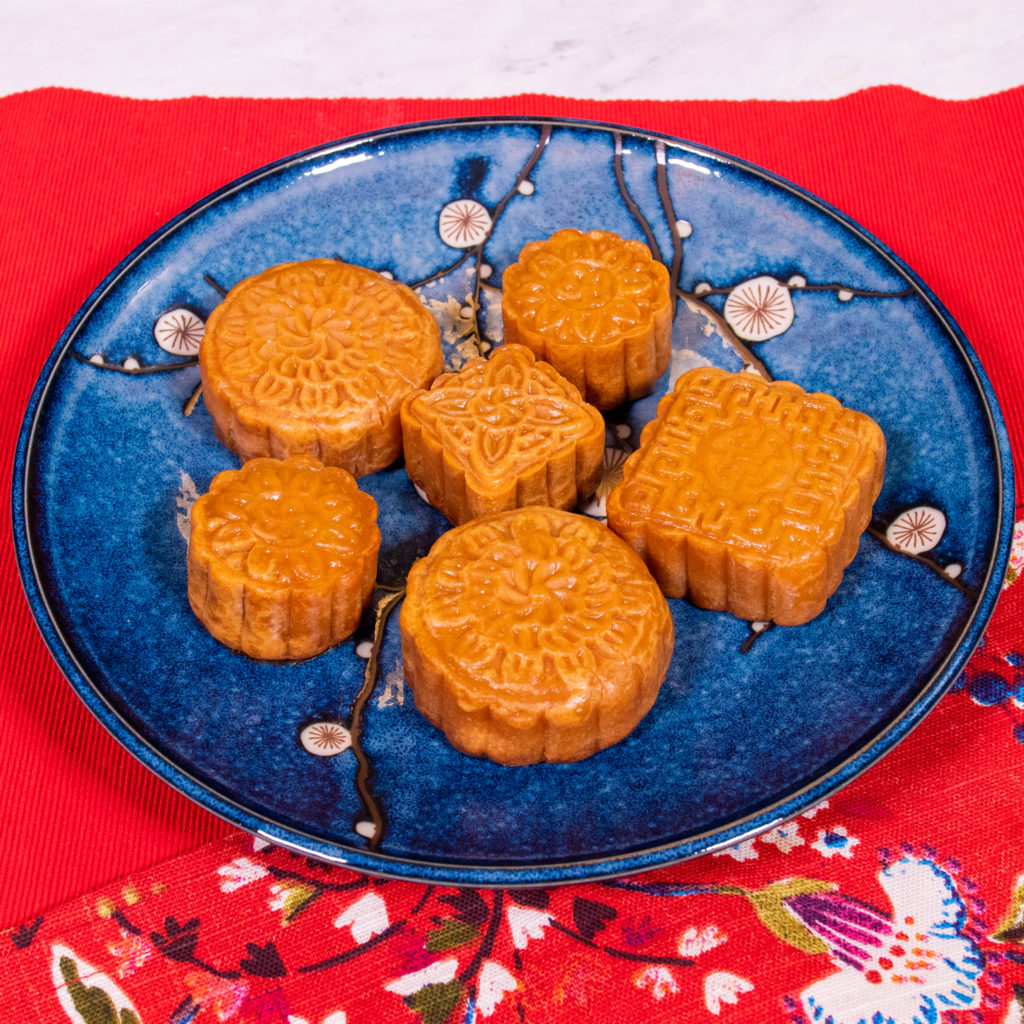
Making mooncakes at home doesn’t need to be hard. Still, it takes time and effort. As I said before, I organized the workflow in three simple stages to ease the process:
- Making the filling
- Mixing the dough
- Building the mooncakes
The filling is, by far, the slowest part. If you’d like to go for a traditional lotus seed paste filling, you either buy it already made or make it at home. When making it from scratch, you will need to let lotus seeds soaking in water overnight. And for one of the steps in this process, you’ll need to spend 30 minutes mixing the filling on a non-stick pan.
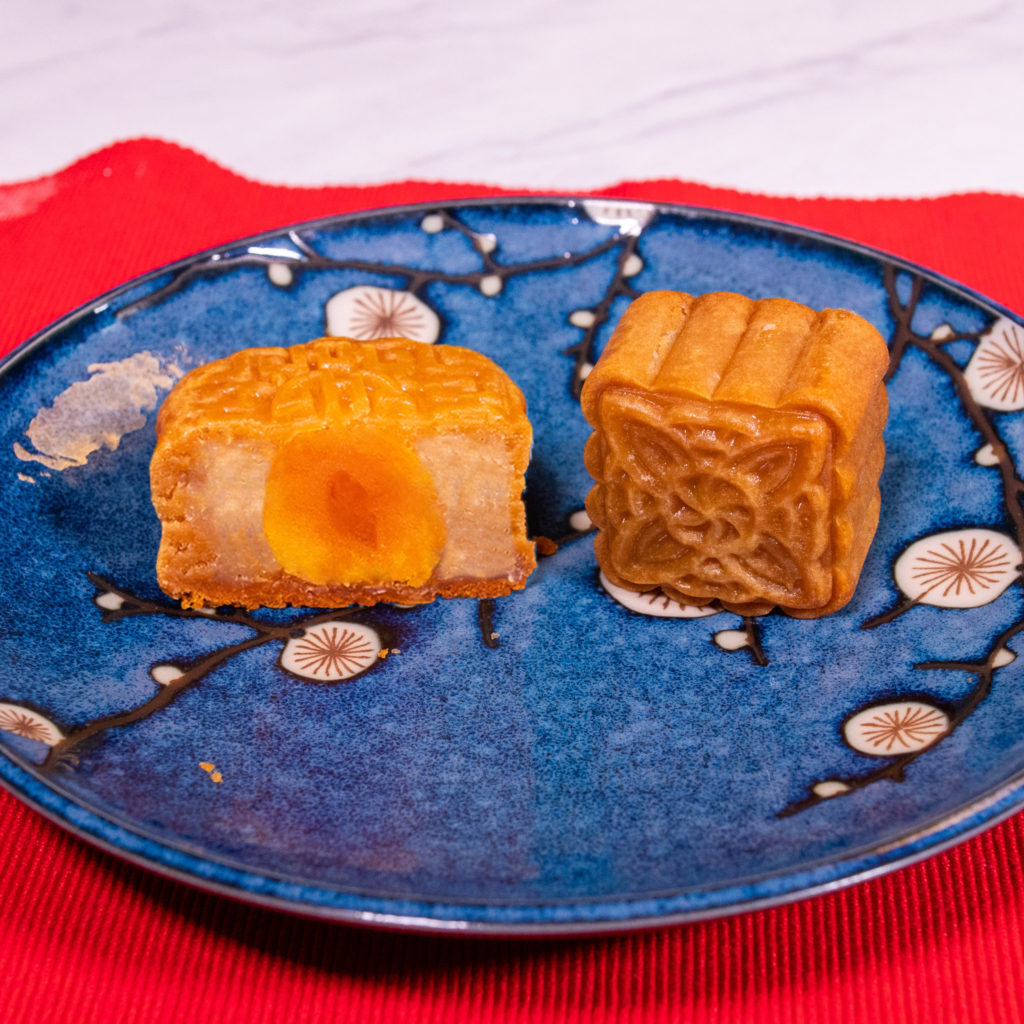
In this recipe, I included the classic duck egg yolk within the lotus seeds paste filling. The classic mooncake filling is perfect for those who love savory and sweet flavors combined. If you’re more into sweets, you can fill them with the lotus seeds paste alone, and they will still be delicious. There are also plenty of filling varieties, ranging from red bean paste to matcha!
In terms of gear, having a kitchen scale is very important for this recipe. It helps to get measures right, which is crucial to get perfect mooncakes. Talking about that, these treats are beautiful because of the molds. I used some modern, easy-to-use mooncake molds that worked pretty well for me.
Are you ready to make mooncakes at home? Let’s do it!
Authentic Mooncake Recipe
Equipment
- Mooncake molds
- Food processor
- Kitchen scale
Ingredients
Lotus Seed Filling
- 12 oz of dried lotus seeds, halved and cleaned, hydrated overnight, and crushed
- 1⅔ cup of icing sugar/powdered sugar
- 1 cup of peanut or corn oil (this is what is usually used, but can be any unflavored vegetable oil)
- Salted duck yolks (Optional)
Homemade "golden syrup"
- ½ lb of sugar
- ½ cup of water
- Juice of half a lemon
Dough
- 1⅔ cup of wheat flour
- 140 ml of homemade golden syrup
- ⅓ cup of peanut or corn oil
- 4 gr of lye water
Egg wash
- 1 egg yolk
- 1 tbsp water
Instructions
Filling
- Bear in mind that making the filling will require letting the seeds soaking overnight.
- To start, cut the lotus seeds in halves and remove their hearts. They look like green stems and taste bitter. If you leave them, they will ruin the mooncakes' taste. In China, the lotus seeds' hearts are popular for making medicinal tea. You can save them for later and try brewing tea with them.
- Place them in a bowl. Fill the container with water until it's at least 2 inches above the seeds. Then, cover the bowl with a kitchen towel and let the seeds soaking overnight.
- Drain the water and transfer the seeds to a pot. Again, add water until you fill the pot 2 inches above the seeds.
- Put the lotus seeds to a boil. Once it starts boiling, put it on low heat and let them cook without the lid for 30 minutes. You'll know they're ready when they're soft enough to squeeze them.
- Drain the water and make the paste using a food processor or a blender. Save some of the water, in case you need to use it for making the paste.
- To get a smooth paste, stop the food processor now and then to help it with a spoon. You can add some of the water you saved to make it easier. Keep processing until you get a hummus-like consistency.
- Cook the paste on a non-stick pan over medium heat. After five minutes, the paste will get a bit dry. Then, it's time for adding icing sugar and oil slowly.
- Now play your favorite playlist because you'll have to mix and cook non-stop for 30 minutes. When the paste feels more solid and keeps its shape, it's done. In my case, it took a bit less than 30 minutes. Then, let it rest at room temperature.
Dough
- The dough is similar to shortbread dough. We need golden syrup to make the dough. It's common in the UK, but if you can't find it, it's easy to make.
- Mix 225 gr of sugar and 120 ml of water. Cook over medium heat and stir until it boils. Add the juice of half-lemon and low the temperature. Let it cook for 30 to 45 minutes without stirring until it turns into amber-colored syrup. Then, remove it from the fire and let it rest at room temperature for 20 minutes.
- If it's too thick, add a little boiling water and stir. We want to get a honey-like consistency. Once it's done, let it rest until it's at room temperature.
- Mix well 140 ml of golden syrup and a 1/3 cup of oil. Then add a tablespoon of lye water and mix a bit longer.
- Incorporate the flour and the mix with a spat. I finished this with my hands, so feel free to do so. Bear in mind that we want to integrate the ingredients, not to develop gluten.
- Shape the dough into a ball and wrap thoroughly in plastic. Then, stick it in the fridge for at least 30 minutes, but no more than 4 hours.
Building the mooncakes
- Make 30 gr dough balls for each mooncake and put them aside.
- For the mooncakes with duck egg yolk filling, weigh each yolk. Add lotus seed paste to complete 70 gr to fill each mooncake. Shape the paste into balls and put them aside.
- Order your setup, to ease the workflow: – Line a baking tray with parchment paper.– Get your mooncake molds.– Place the dough balls and the paste balls.
- For the traditional duck egg yolk filling, take a paste ball and flaten it with your hands. Then put the egg yolk in the middle and wrap it with the paste.
- Put a dough ball between two layers of plastic wrap and stretch it with a rolling pin. Afterwards, remove the plastic wrap on the top and put a ball of filling in the center.
- Help yourself with the plastic wrap on the bottom and cover the filling with the dough, making a ball. Press the dough gently, so that you don't get any air bubbles between the filling and the dough.
- Shape with your hands gently, until you get a nice ball.
- Flour the ball and the molds thoroughly. Place the ball on the parchment paper and shape it using the mold. You can press the mold several times, until you get it right.
- For squared mooncakes, shape the balls accordingly, so it fills the mold easily.
- Preheat your oven to 350 °F for five minutes. In the meantime, brush the mooncakes with eggwash and bake your mooncakes for 15 minutes.
- Take the mooncakes out of the oven and let them rest at room temperature.
- Enjoy these beautiful mooncakes!
Video
Notes
Quantities for the molds:
Measurements for large mooncake molds (100g)- 30g batter
- 70g filling (if you put yolks, calculate the weight of the yolk first)
- 15g batter
- 35 g filling
If you liked this mooncake recipe, you might like some of my other recipes too.
And remember, if you try this recipe and want to share your pictures, remember to tag me @lacooquette on Instagram. I’d love to share your pictures on my IG stories.

Leave a Reply