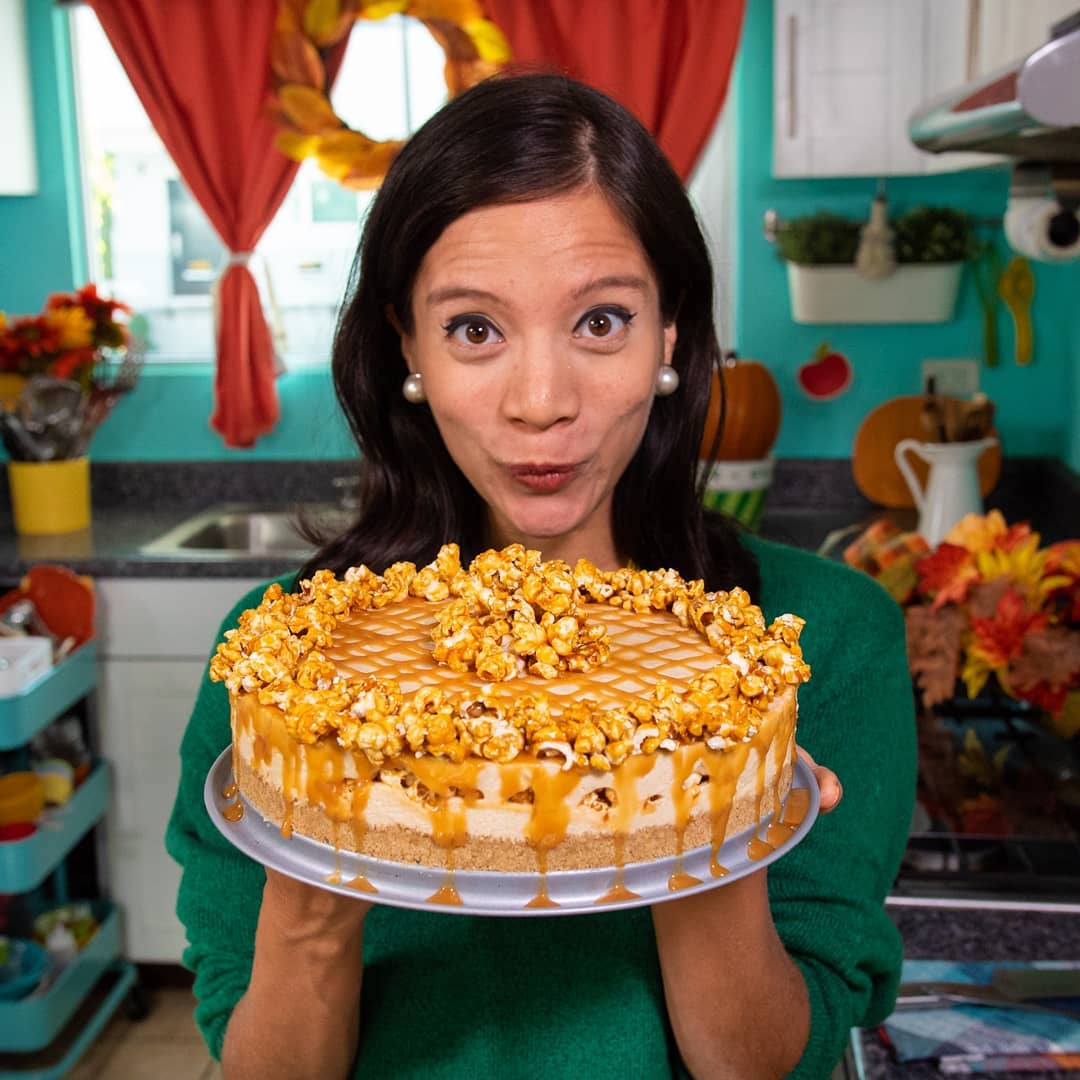
Popcorn cheesecake brings together two of my favorite food addictions in a fun and easy dessert perfect for the Fall.
Yup, I paired the same popcorn you love to eat at the movies with a beloved cheesecake. To bring everything together, we’ll use dulce de leche as a uniting force. Besides having a yummy sweet & salty flavor, there are three unique things I love about this recipe:
- You can make it several days before your Thanksgiving dinner or family gathering so you can enjoy the actual day.
- This is a no-bake recipe, so you can make it even if mom has a turkey inside the oven or who knows what!
- Our cheesecake is gluten-free, suitable for celiacs.
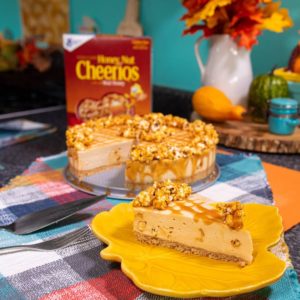
I used Cheerios instead of graham crackers. Cheerios are better for our cheesecake base because they have whole grain oats and make our base gluten-free! For making popcorn, you can buy microwave popcorn bags or whatever you like. I find it more exciting and fun to make them at home.
At first, you might think that it looks too sweet, but that salty caramel balances things perfectly. Seriously, it’s delicious. You have to try it.
My family always asks me to make desserts or appetizers, so this will be a perfect idea. And I’m sure this is a great recipe to have under your sleeve for the festive season.
Now, let’s get to the recipe. Shall we?
Popcorn cheesecake
Ingredients
Cheesecake
- 3¾ cups of Honey Nut Cheerios™ cereal
- 4.5 tbsps of brown sugar
- 76 grams of unsalted butter, melted 5 tablespoons
- 1 cup of dulce de leche
- ¾ cup of whipping cream, well-chilled
- ¾ cup of powdered sugar
- 1 tsp of liquid vanilla extract
- 680 gr of cream cheese
- 1 tbsp of gelatin powder
- 60 ml of cold water to hydrate the gelatin
POPCORN
- 60 gr of coconut oil 4 tbsps
- ½ cup of popcorn kernels
- 2 tbsp of salted caramel syrup
- 1½ cups of white sugar
- ⅓ cup of water
- 180 ml 180 ml of whipping cream, at room temperature
- ¾ cup of unsalted butter, at room temperature
- ½ tsp of salt or to taste (to make salted caramel).
Instructions
- Pulverize Honey Nut Cheerios. You can do this in a food processor or inside a bag and hit them with a rolling pin. Then, mix the crumbs well with brown sugar and melted butter.
- Use a springform pan and put the crumbs inside. Press this down throughout the base. Then to help the base to set, stick it in the freezer for at least 10 minutes. In the meantime, make the filling and the rest of the components.
- Turn the heat on high and add coconut oil. And a few popcorns to test the heat. Remember, you have to wait until these test corn pop before adding the rest. Why? Because when the test popcorns pop, you have to add the rest, lower the temperature to medium heat and quickly cover the pot. In a few seconds, all the popcorn will start bursting. Stir this once in a while, so the popcorn doesn't burn. When you hear the last ones not popping as often, it's time to turn the heat off and put them in a bowl.
- Now, transform it into caramel popcorn. For this, you have to have everything ready to make the caramel because everything gets hot fast.
- Have a tray with baking paper ready where you will put popcorn after. You'll need sugar, butter, and water.
- Add the sugar to a pot with the water but don't mix. Just stir the pot a little bit to let the sugar soak in it. There you have to leave it on medium-low heat until it changes color. When you see it's yellow-ish, add the butter but don't stop mixing. Don't worry. The bubbles are normal, and they will go away. After a few minutes, the caramel will be a bit darker than honey, and that's when you take it off the heat and pour it on our popcorn. Quickly mix everything with a spoon to cover them all with caramel. Be careful because it's scorching. Immediately put the popcorn on top of the tray and spread them as much as you can. Add a little bit of salt, and let the popcorn cool so you can crush it after to get caramel popcorn.
- To make the filling, start with the whipped cream using a cold bowl and cold whipping cream. Whip it with a mixer, and when it starts getting shaped, add powdered sugar, little by little.
- Before mixing the rest, hydrate the gelatine. Put it in a bowl and add cold water. Then, mix it and let it sit for a few minutes. In another bowl, combine the softened cream cheese and add dulce de leche. Keep mixing and add vanilla and whipped cream. When the gelatine is hydrated, warm it up a little bit in the microwave until it's liquid to add it to the mix.
- Now, put all the components together. First, add a fine layer of the cream cheese mixture. Spread it with a spoon, and grab some popcorn to start adding them all over the top. Then add spoonfuls of the cream cheese mixture and popcorn here and there. It doesn't have to be even, don't worry. The point is to have popcorn pieces inside the cheesecake. Finish it off with the rest of the cream cheese and smooth it out with a spatula. You also have to hit the pan against the table to let some air bubbles out. Cover it, and this goes in the fridge for 4 hours to let it set. It gets better if you leave it overnight. Also, if you want, you can freeze this dessert to make it a few days before your dinner. Just freeze this whole part and add the toppings once you're ready to serve.
- While the cheesecake is setting, you can take one step further, and that's making the delicious salted caramel topping. In a pot, add sugar, a little bit of water, and remember to not stir with a spatula, so the sugar doesn't crystallize. After a few minutes on medium heat, it will be amber. Then, turn off the heat and add butter; mix quickly while adding whipping cream and salt. Now, put it inside a bowl. It'll be very liquid, but you'll see it will change. Just wait for it to get to room temperature, then cover it and put it in the fridge all night along with the cheesecake. That way, it will thicken a little bit more.
- After the day wait is due, check your cheesecake. Now make sure it's not stuck on the walls of the pan with a thin spatula. Make sure it's not sharp. Put the spatula close to the border of the pan until you feel you have reached the base. Go little by little all over the cheesecake. Always close to the walls, carefully. Release the mold and voilá!
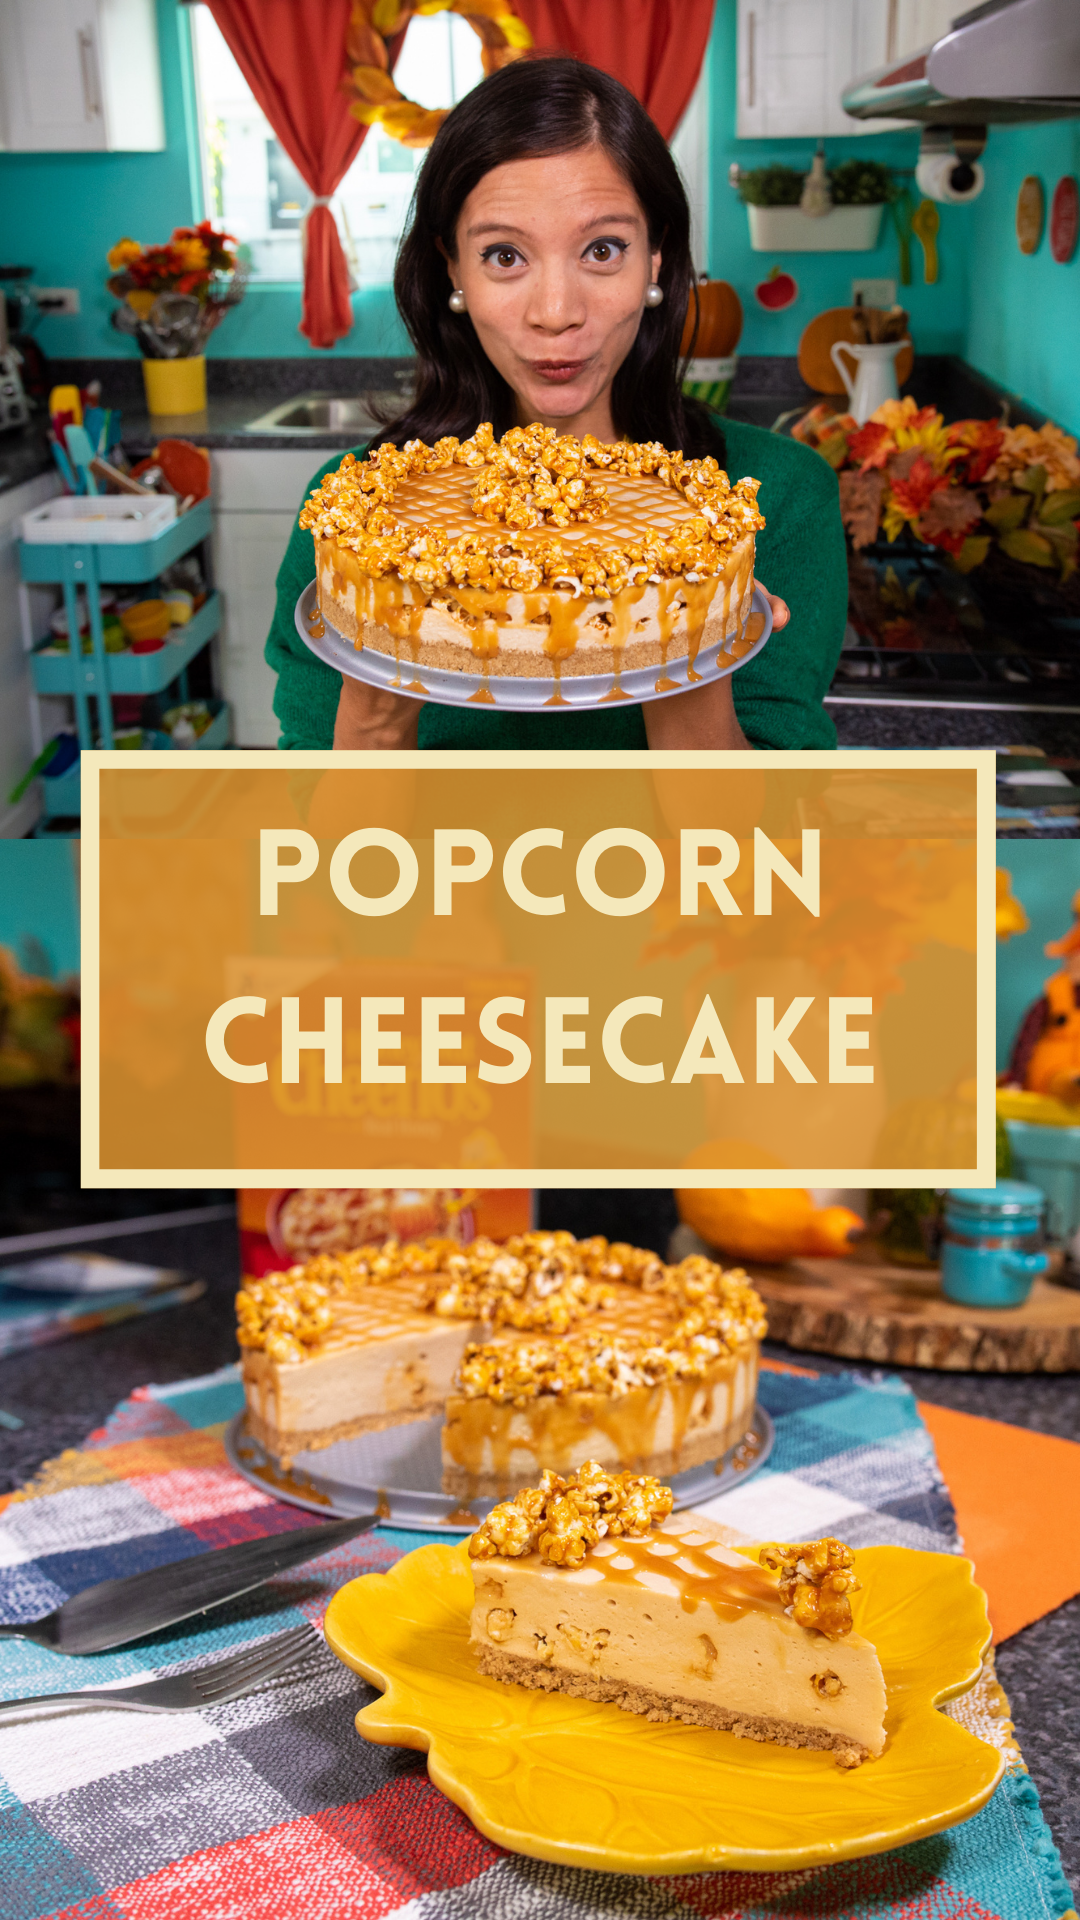
- To decorate, fill a piping bag with the salted caramel topping. If you don't have one, don't worry. You can use any resealable bag. Draw a simple line and add more on the edges so the caramel drips in the sides. Now give it a final touch with caramel popcorn. Put the popcorn on the sides, making two rows and on the center. You can decorate it however you want, and that's it!
- Enjoy your popcorn cheesecake! No-bake, with all the taste and yumminess!
Video
Notes

If you liked this popcorn cheesecake recipe, you might like some of my other recipes too.
Comment below and tell me what the usual things that you make for your gatherings are?
And remember, if you try this recipe and want to share your pictures, tag me @lacooquette on Instagram. I’d love to share your pictures on my IG stories.
Note: Cheerios sponsored the original video for this recipe, but all opinions expressed here are my own.
Leave a Reply