White chocolate pear skulls are tasty and so much fun!!
I was trying to come up with a recipe that would serve two holidays that I love: Halloween and Día de los Muertos (o “Day of the Dead”), and noticed they each had at least one thing in common: there are skulls everywhere!
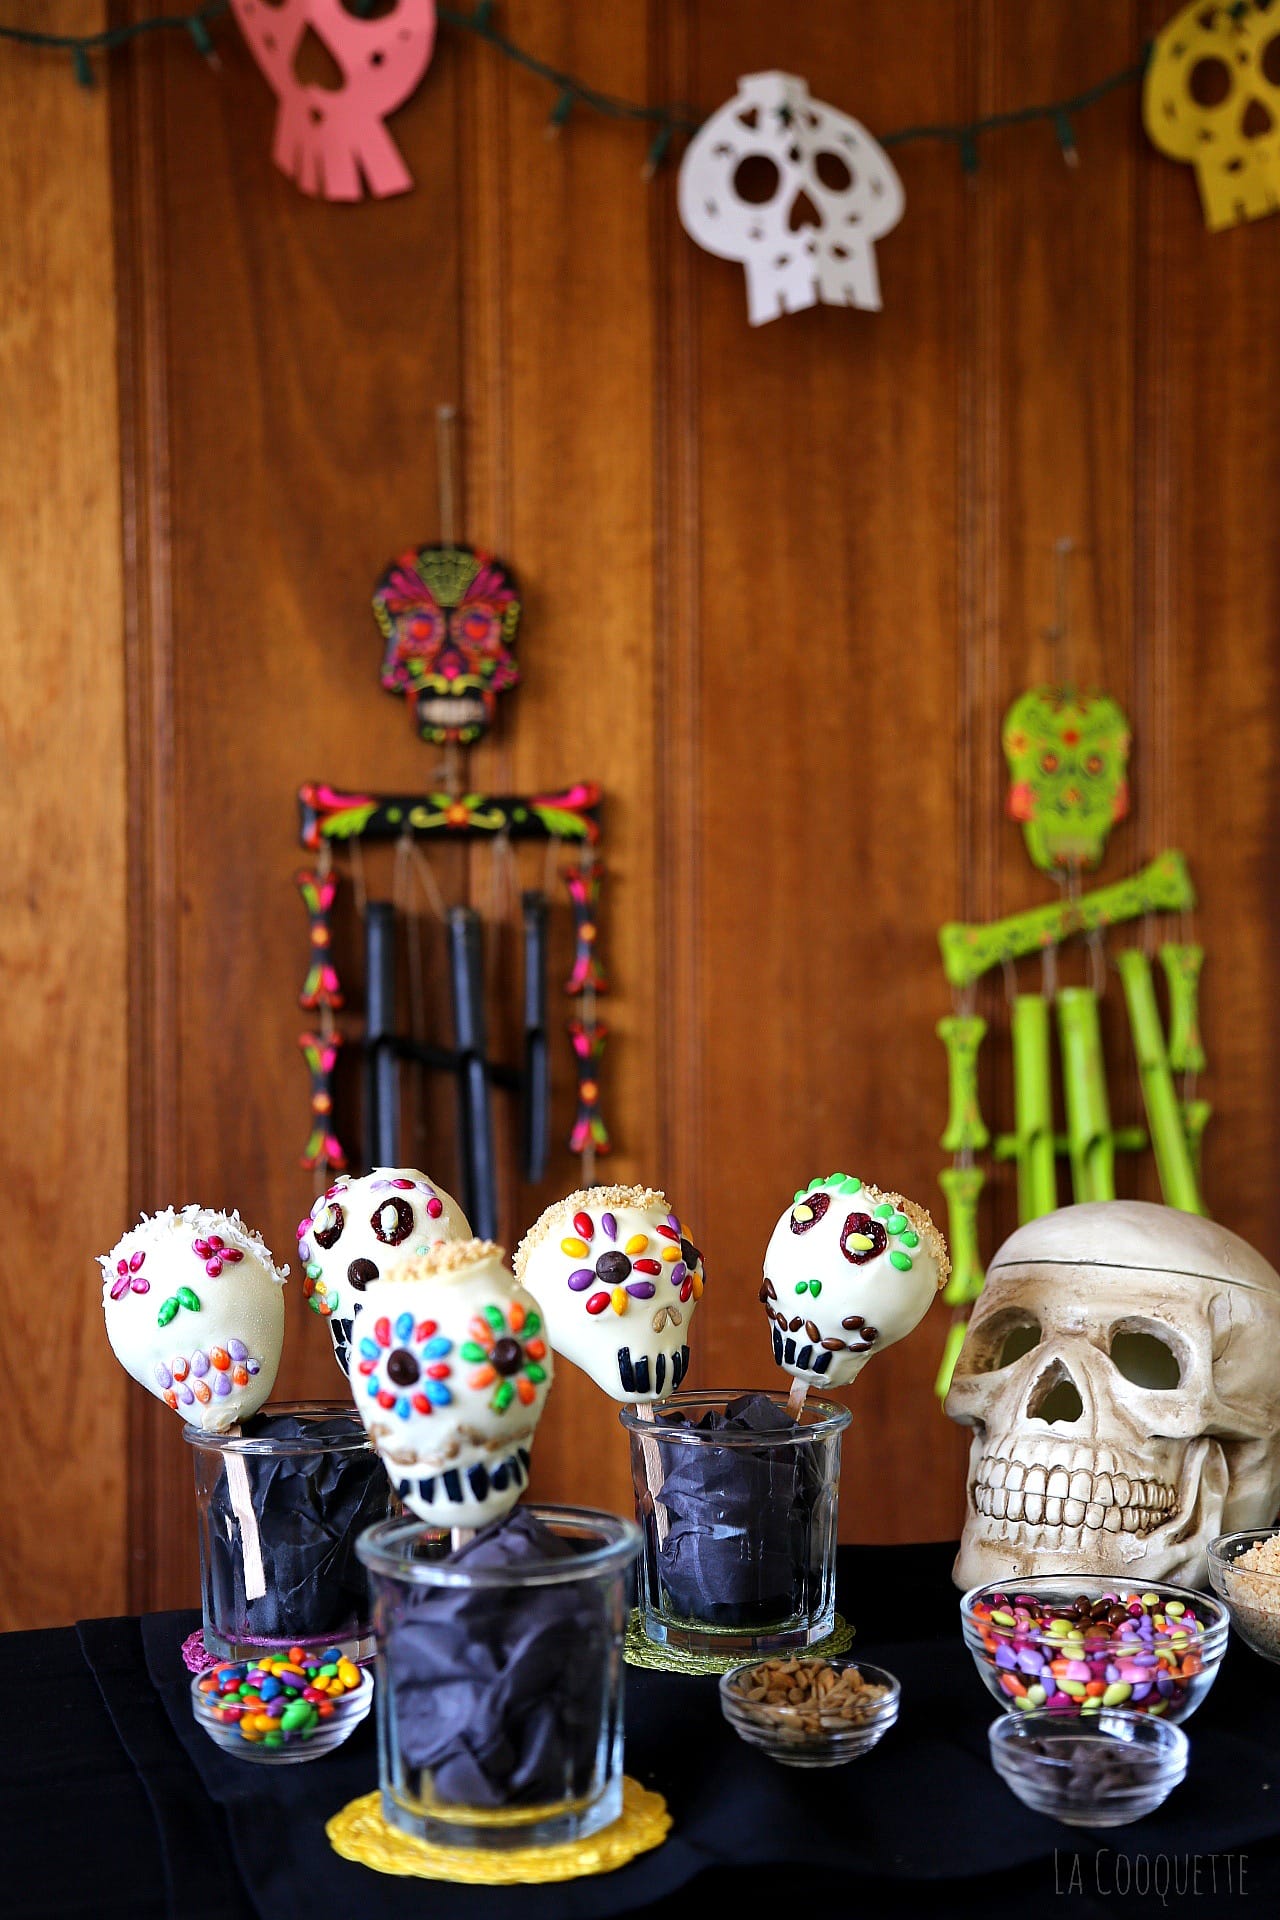
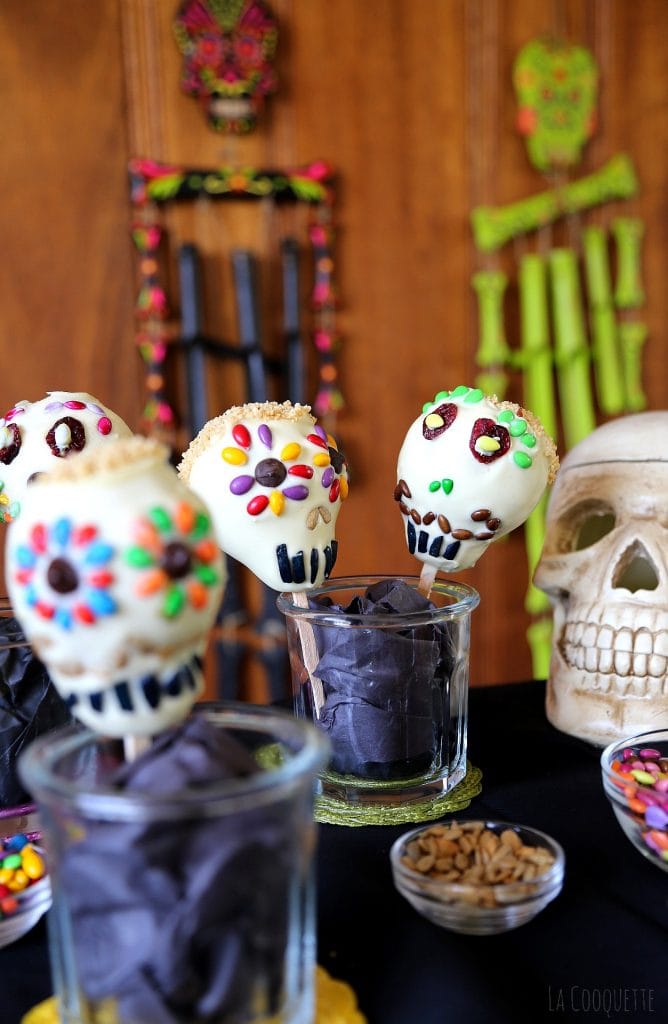
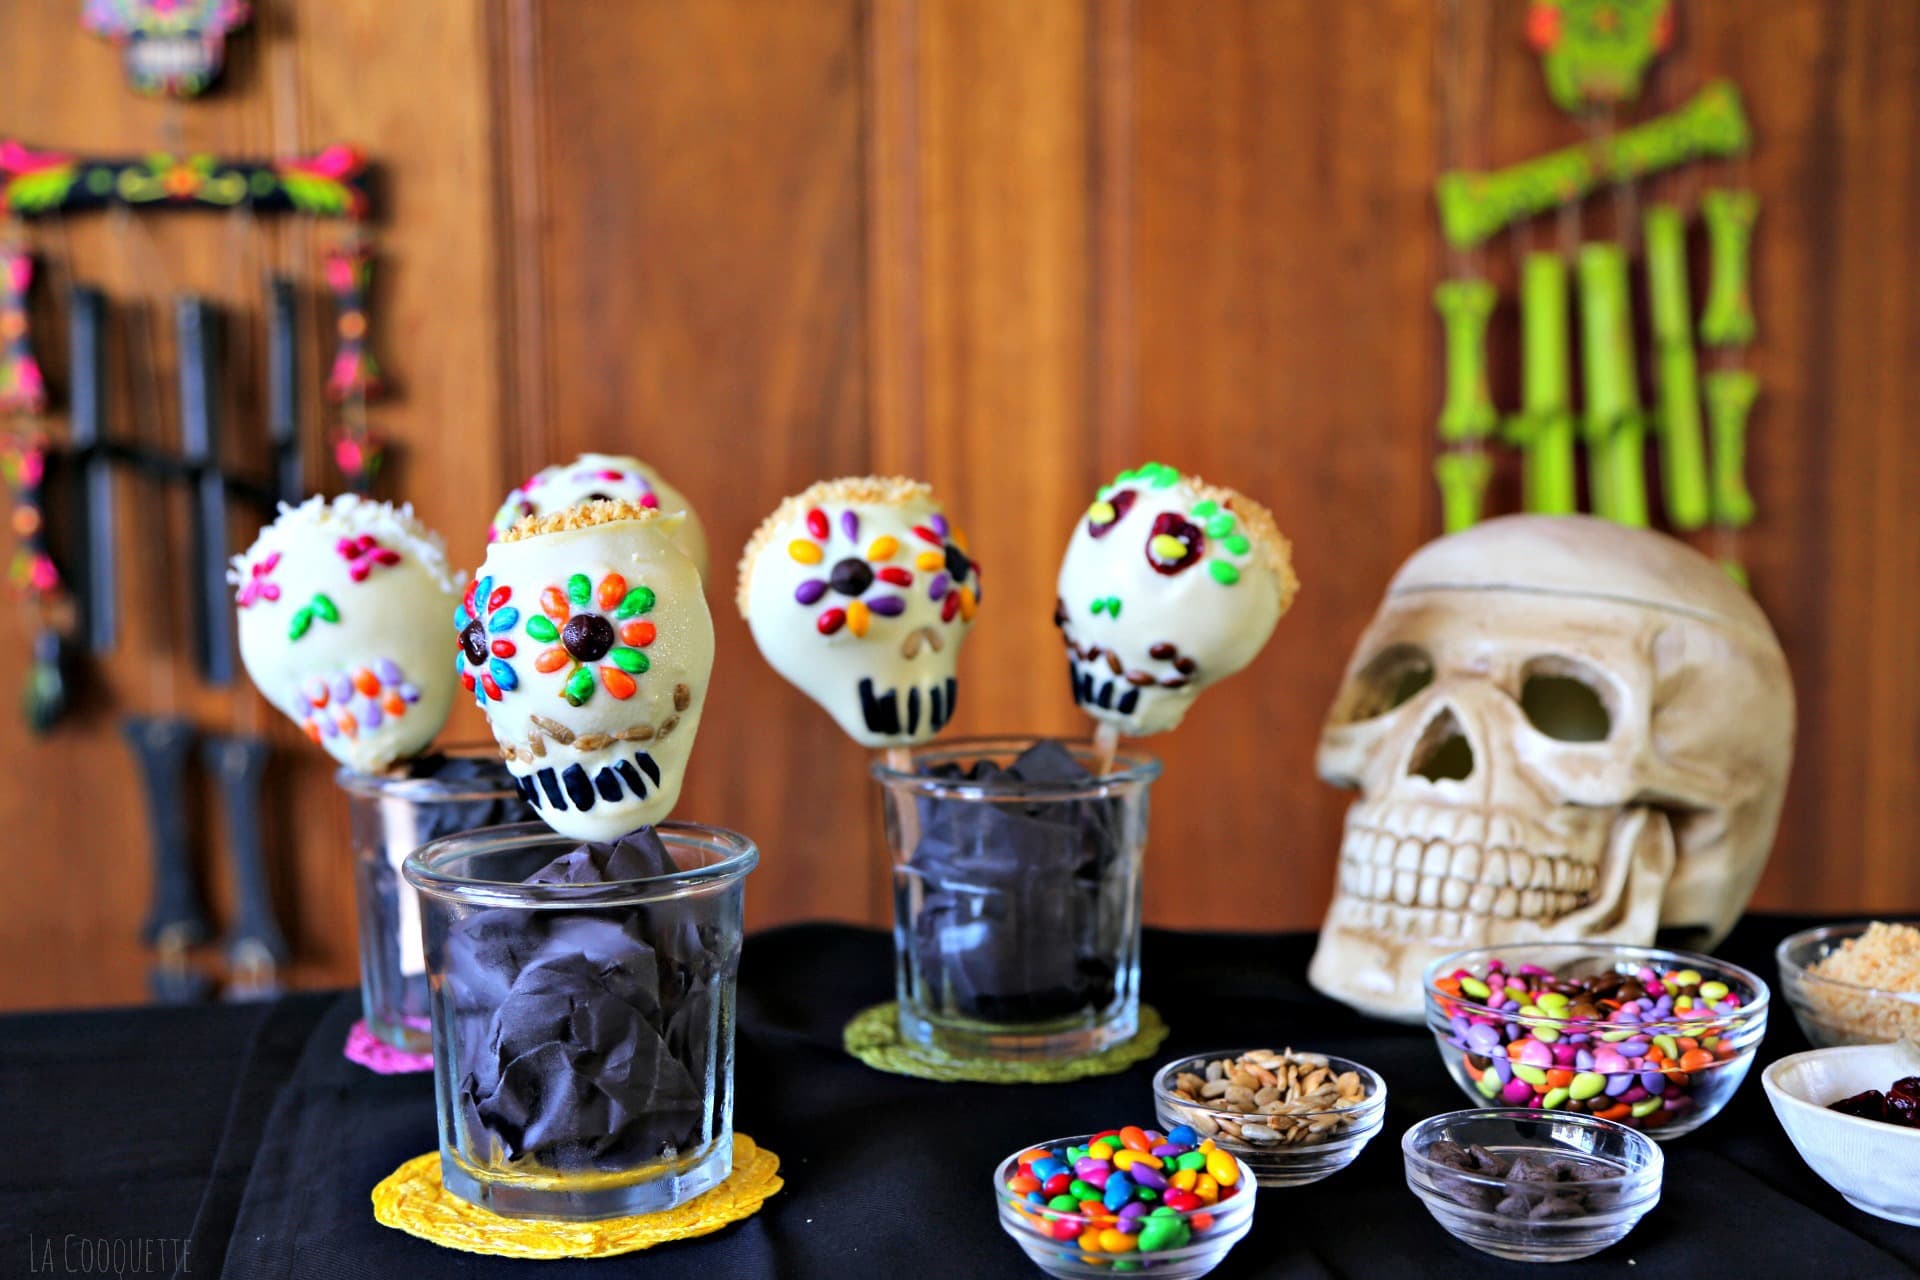
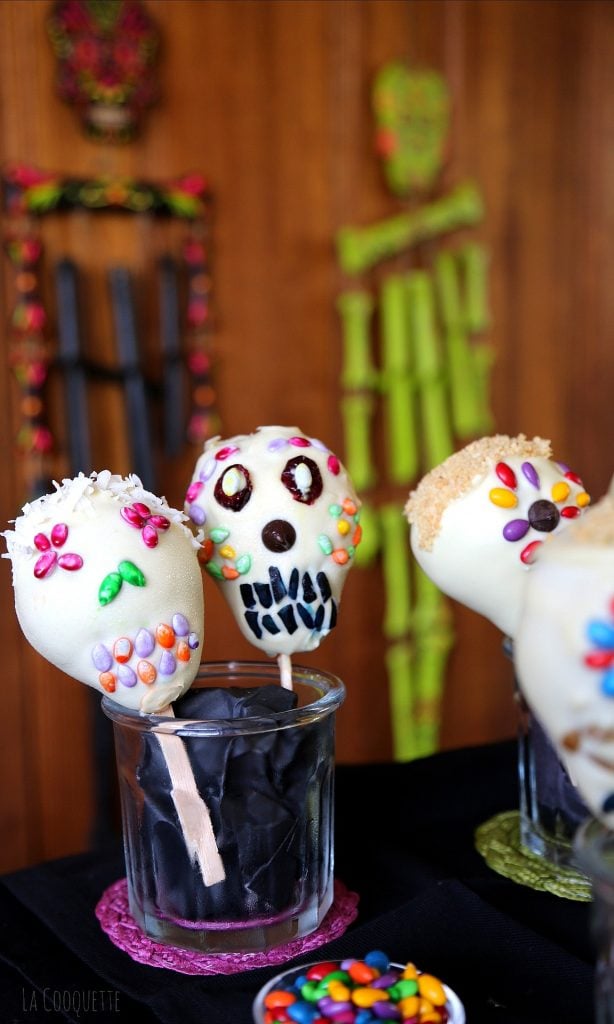
So, on an attempt to tweak the lovable recipe for caramel or candied apples, I came up with White Chocolate Pear Skulls!! If you think about it: pears do resemble the shape of a skull, and the white chocolate just completed the image.
Of course, the Mexican Day of the Dead skulls are faaaar more colorful and joyful than the “scary-looking” Halloween skeleton (even considering Tim Burton’s).
Take a peek of this video recipe to see how I decorated them!!
Getting creative to decorate 💡
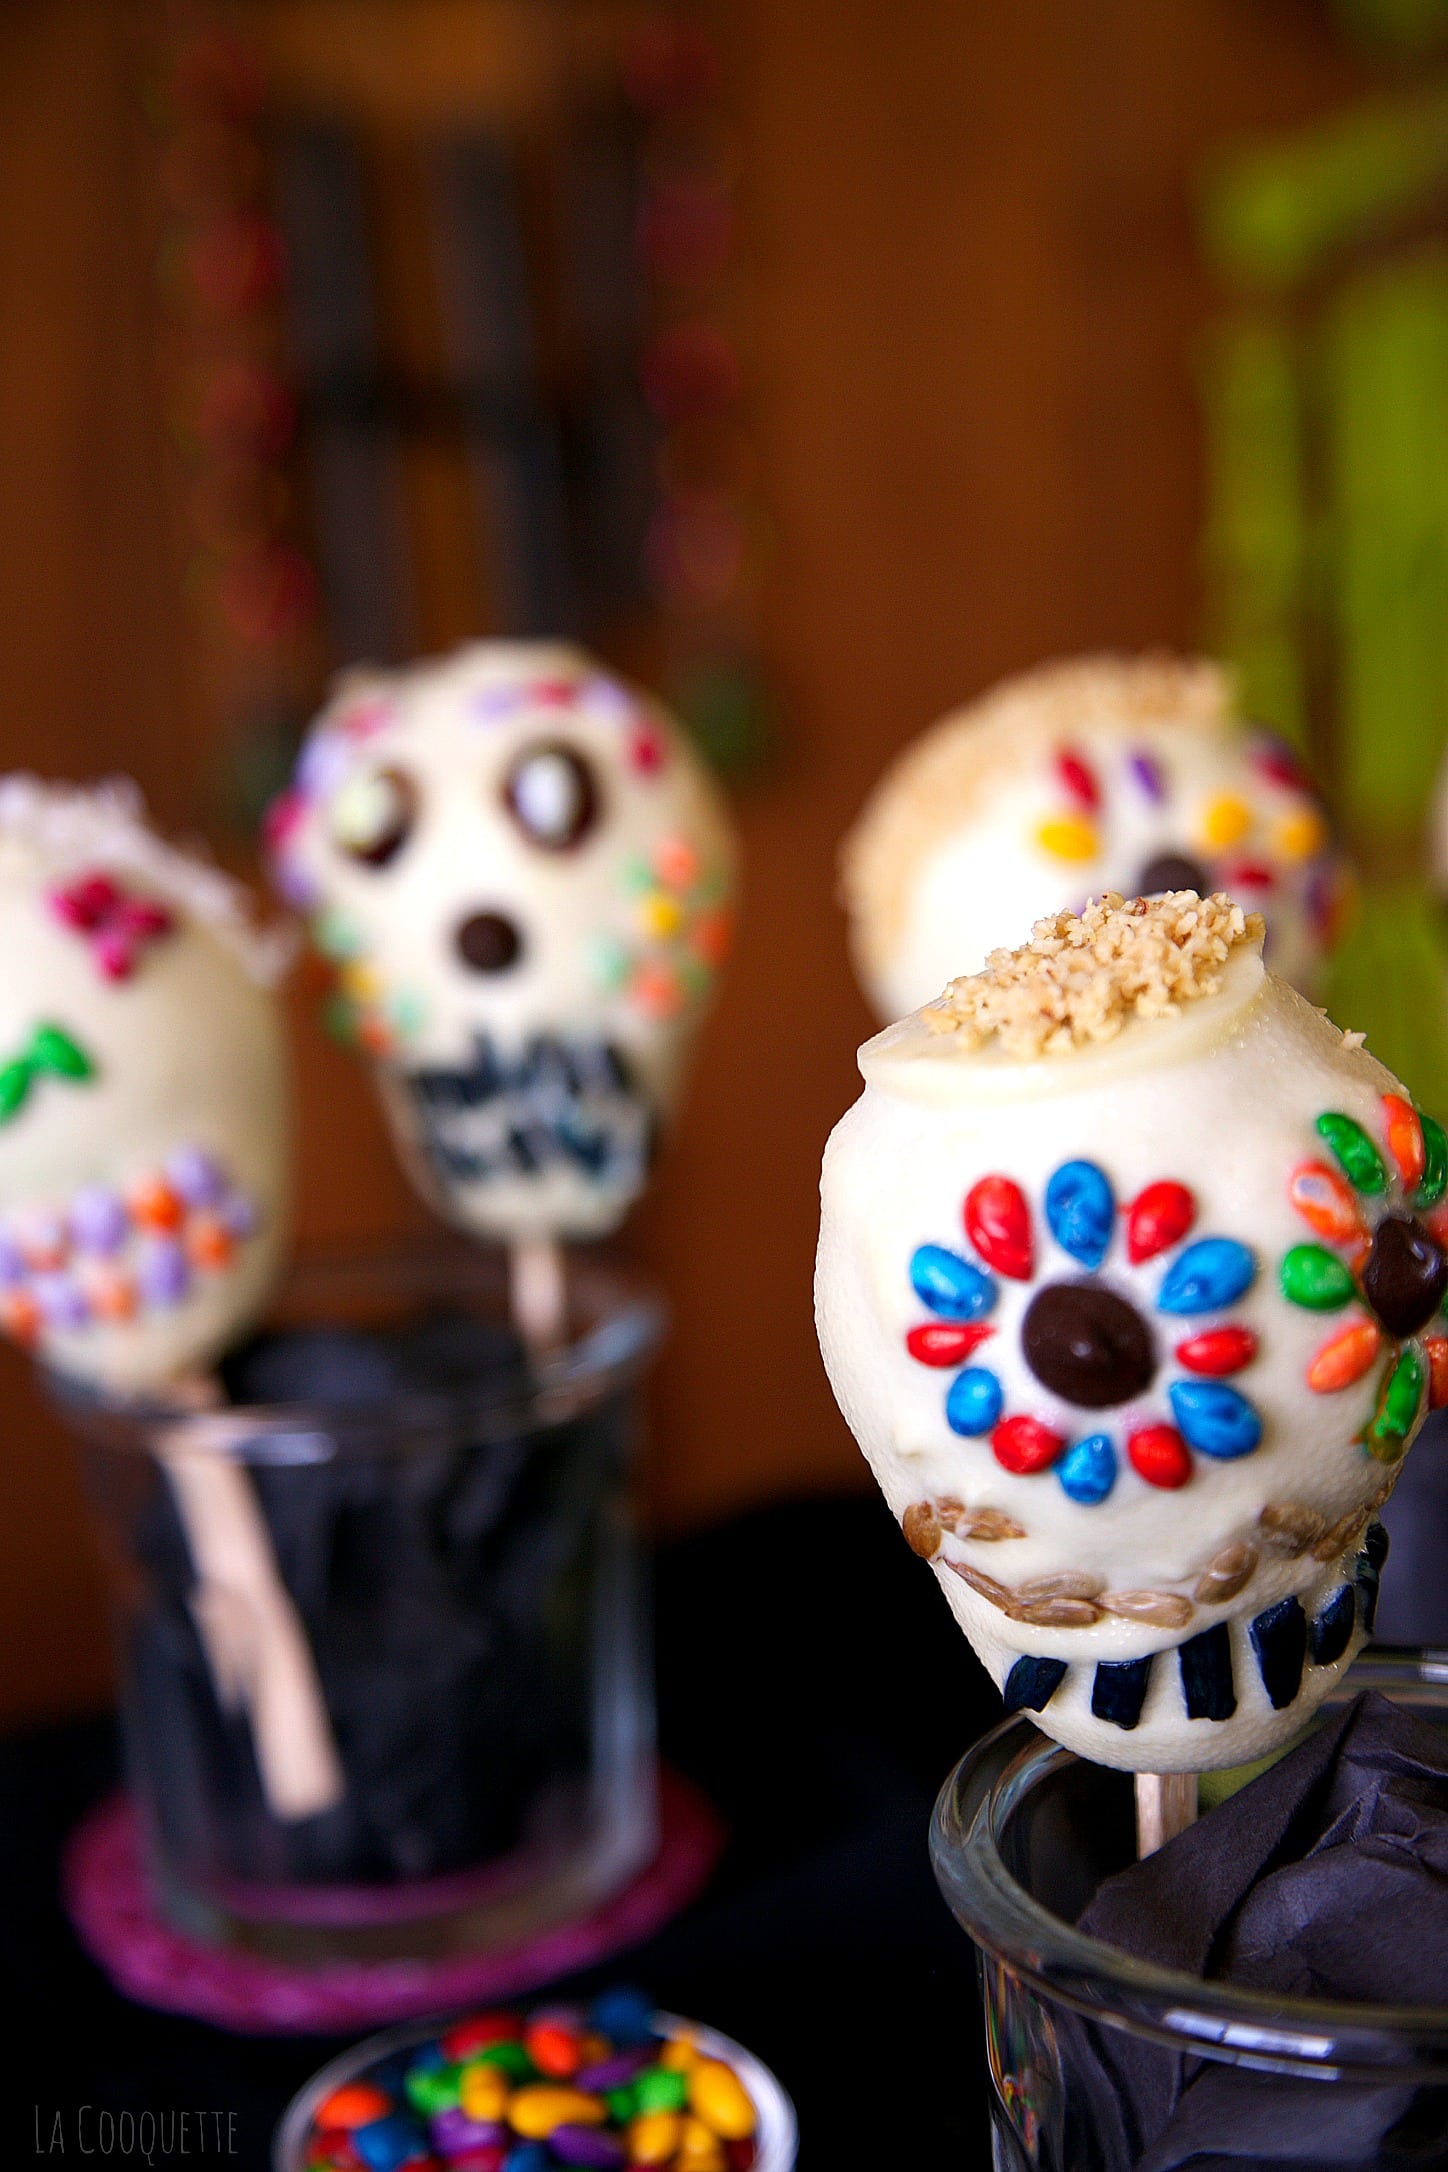
The best part of this recipe is that you have total freedom to let your imagination flow in decorating the skulls. If you need any ideas for designs, I created a Pinterest board just for that! You can see it here.
To be honest, it was a bit tough to decorate on semi-melted white chocolate on a pear. So the best advice I can give you is to make your designs in advance! This is a very fun activity to do with children or a group of friends, to compare designs and crazy faces or simply discover all the edible things you can use as decoration!
I also chose to decorate them in the colorful, Day of the Dead manner to show people how certain things are not to be scary at all. You see, the Mexican tradition for that day is to honor their loved ones who’ve passed away, and I actually found out that there’s so much color and many crazy colorful skull designs for face paint, sugar skulls, and everything, because it is a way to celebrate. That is certainly a pretty sweet and such a bright way of looking at something as scary as death!
So fear not, and enjoy eating this “healthier” version of sugar skulls!
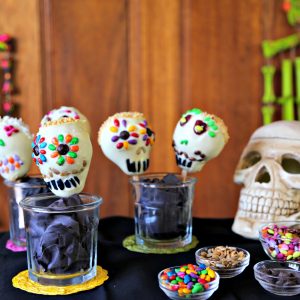
White Chocolate Pear Skulls | Halloween recipe | Día de Los Muertos
Ingredients
- 5 5 small-to-medium sized pears (I got the firmer pears)
- 30 oz of white chocolate chips (depends on the size and shape of the pot)
You can use any small candy or nut to decorate but I used:
- Sunflower seeds
- Colorful chocolate-covered sunflower seeds
- Crushed peanuts
- Dry cranberries
- Milk chocolate chips
- Slivered peeled almonds
- Food coloring (to color the nuts in different colors)
Instructions
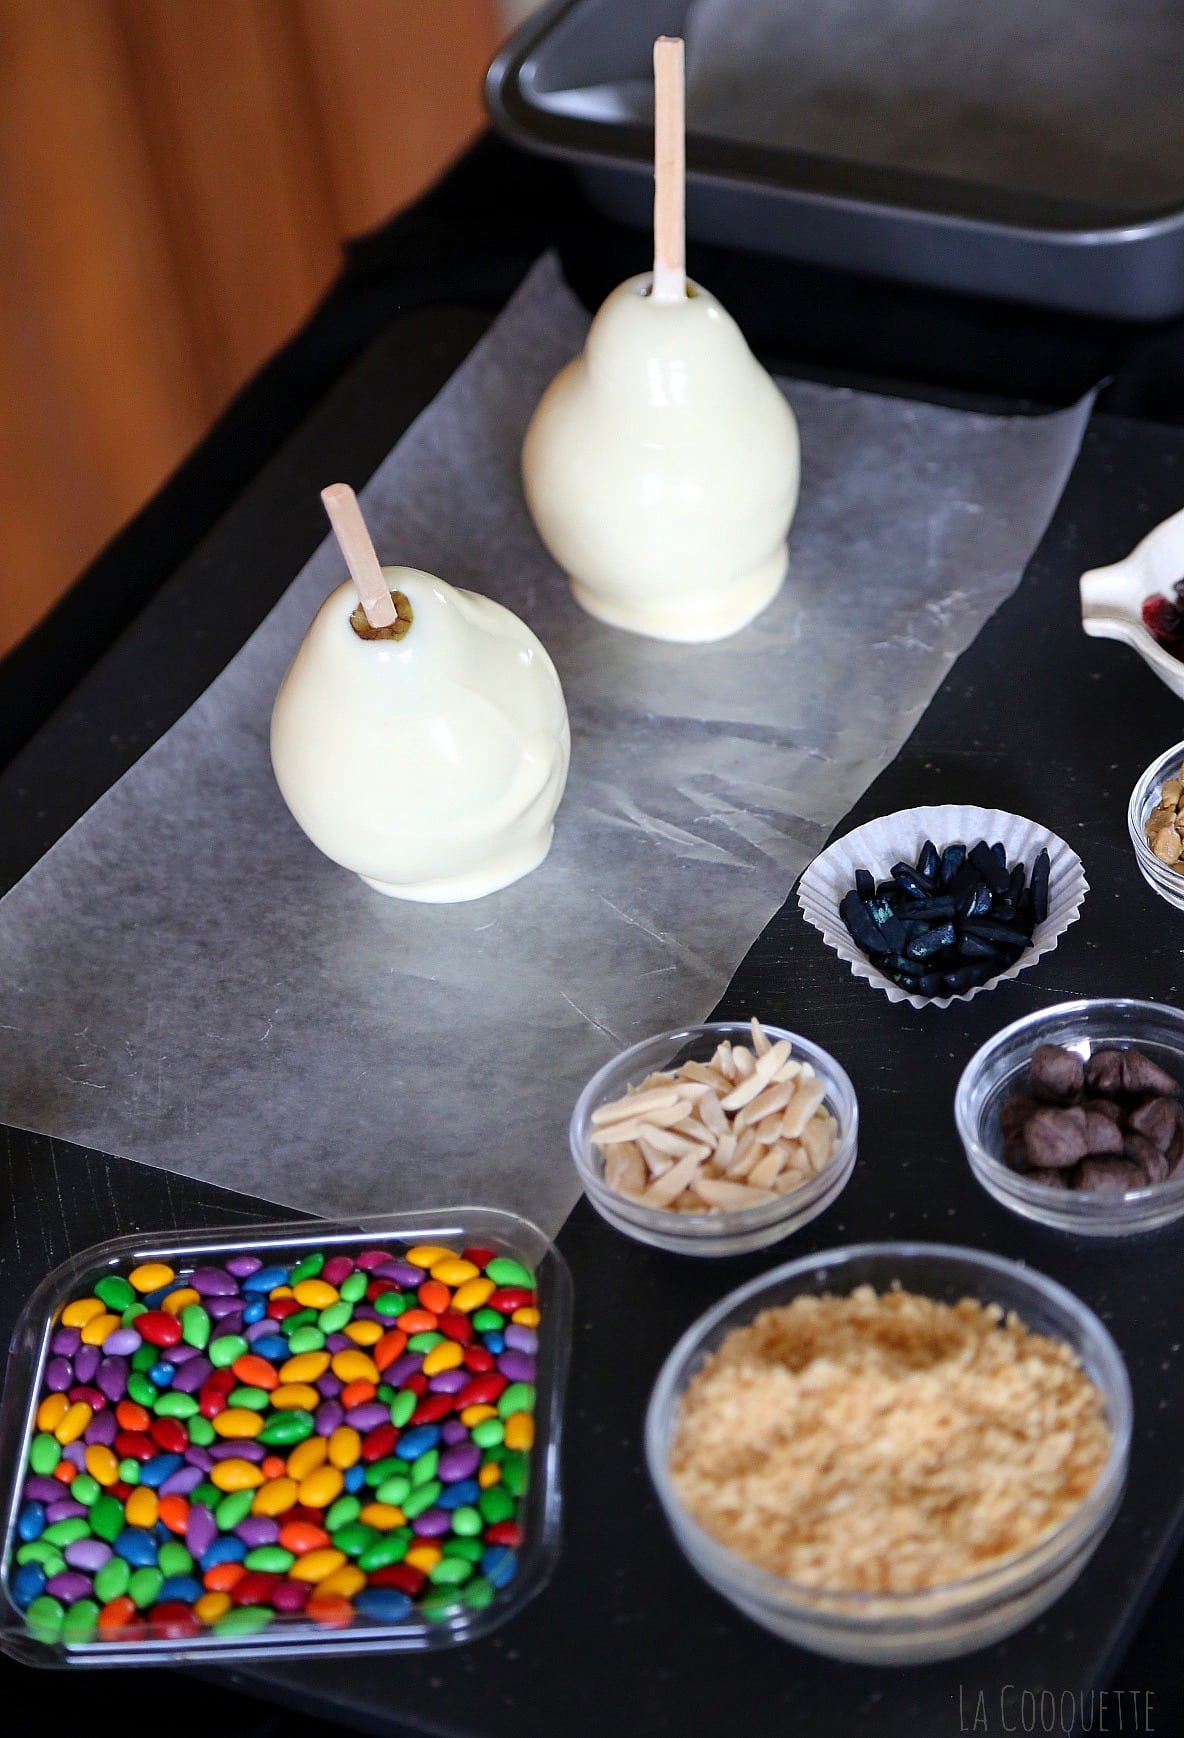
- Grab your clean and stemless pears and insert a wooden stick on the center, where the stem was. Make sure they hold still and prepare a piece of parchment paper to place the pears when they get covered with chocolate.
- Now melt the white chocolate chips in the microwave. Alternatively, you can melt the chocolate using a bain-marie. It's gentler than the microwave, so that it's less likely to burn your chocolate.
- Grab a pear by the stick and dip it on melted chocolate. Tilt the pot slightly and roll the pear a couple of times until it's all nicely covered. Let the pear drip the excess chocolate and place it on your side on parchment paper. Repeat this process with each pear and let them cool a bit before decorating.
- The easiest way of doing this is first to recreate the design you want on the side.
- Start by selecting your favorite decorations and making a fun base on top of parchment paper.
- Now, grab your chocolate pear and start filling in with your design. It may still have a lot of chocolate, so hold it horizontally. In this way, it'll be more stable, so that it'll be easier for creating the faces.
- Let your imagination flow, but remember to make this quick, or else the adornments may slide off the warm chocolate. Top the skulls with a dry ingredient like crushed peanuts to protect the chocolate cover.
- After you finish with the first pear, let it rest on top of another parchment paper and place it in the fridge.
- Now, continue decorating the next chocolate pear. Each time you finish one, put it in the refrigerator to keep its shape.
- Finally, enjoy and share these cute white chocolate pear skulls!
Video
If you liked this White Chocolate Pear Skulls recipe, you might like some of my other recipes too.
And remember, if you try this recipe and want to share your pictures, tag me @lacooquette on Instagram. I’d love to share your pictures on my IG stories.
Note: We published this recipe originally on October 24, 2014. Back then, we were beginning shooting our videos, but the recipe it’s delicious!


Leave a Reply